DIY illuminated house number sign

Recently, I was inspired to replace our house number sign. The original one had run its course. It was small and nearly impossible to read from our long driveway, especially at night. It was also covered by tree branches and was beginning to show its age as the metal was starting to rust. It was time for an upgrade. I was looking for something in the modern to contemporary style with built-in illumination.
I initially turned to some affordable custom-made backlit house number signs on AliExpress. While the price seemed right, the product that arrived wasn’t. It had several issues:
- Numbers weren’t centered.
- LEDs were poorly placed, leaving hot spots and uneven lighting.
- The stencil-style font looked dated, and didn't match the photos.
- The power supply emitted an annoying hum. Even for an outdoor item, it was a dealbreaker
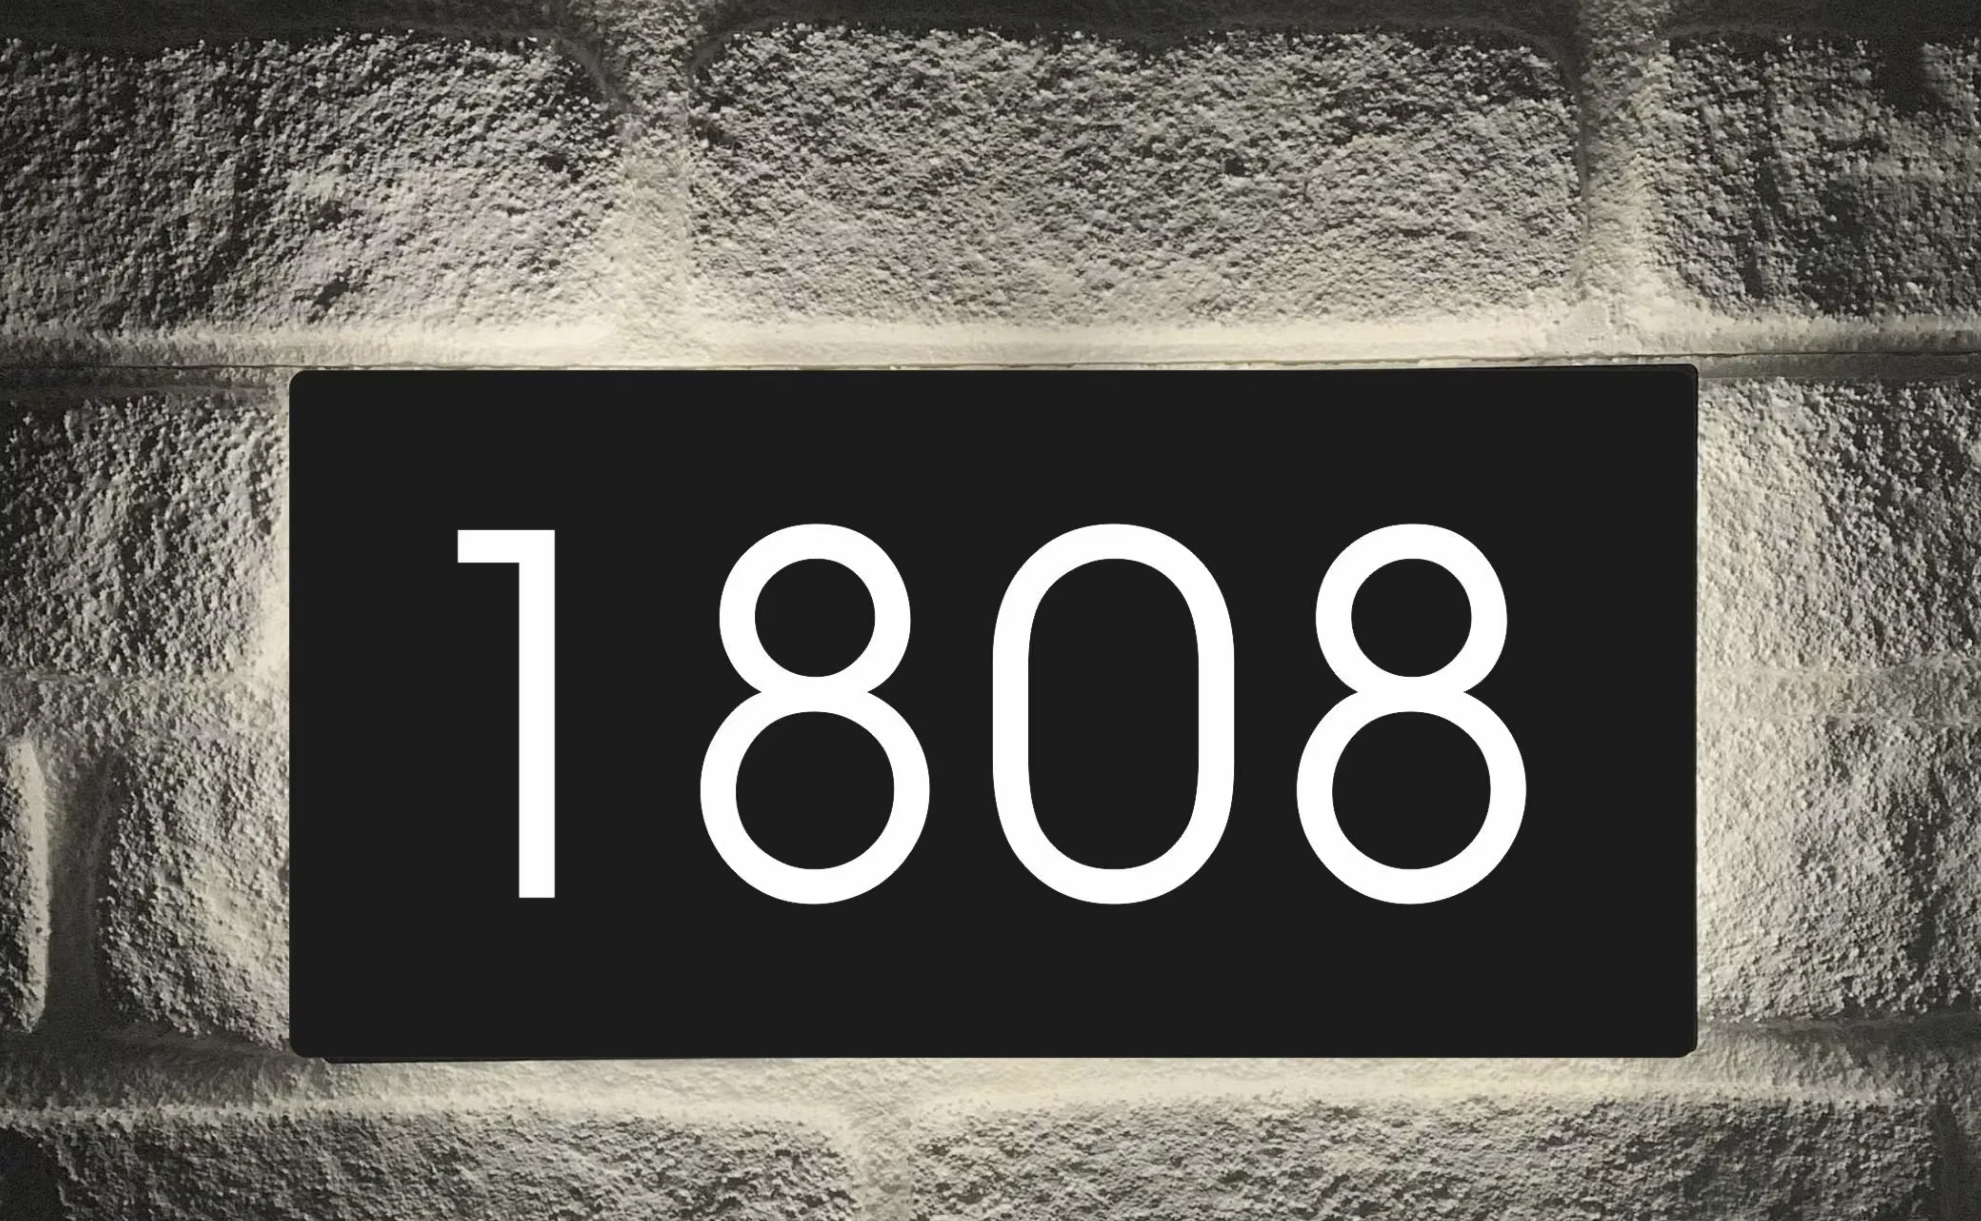
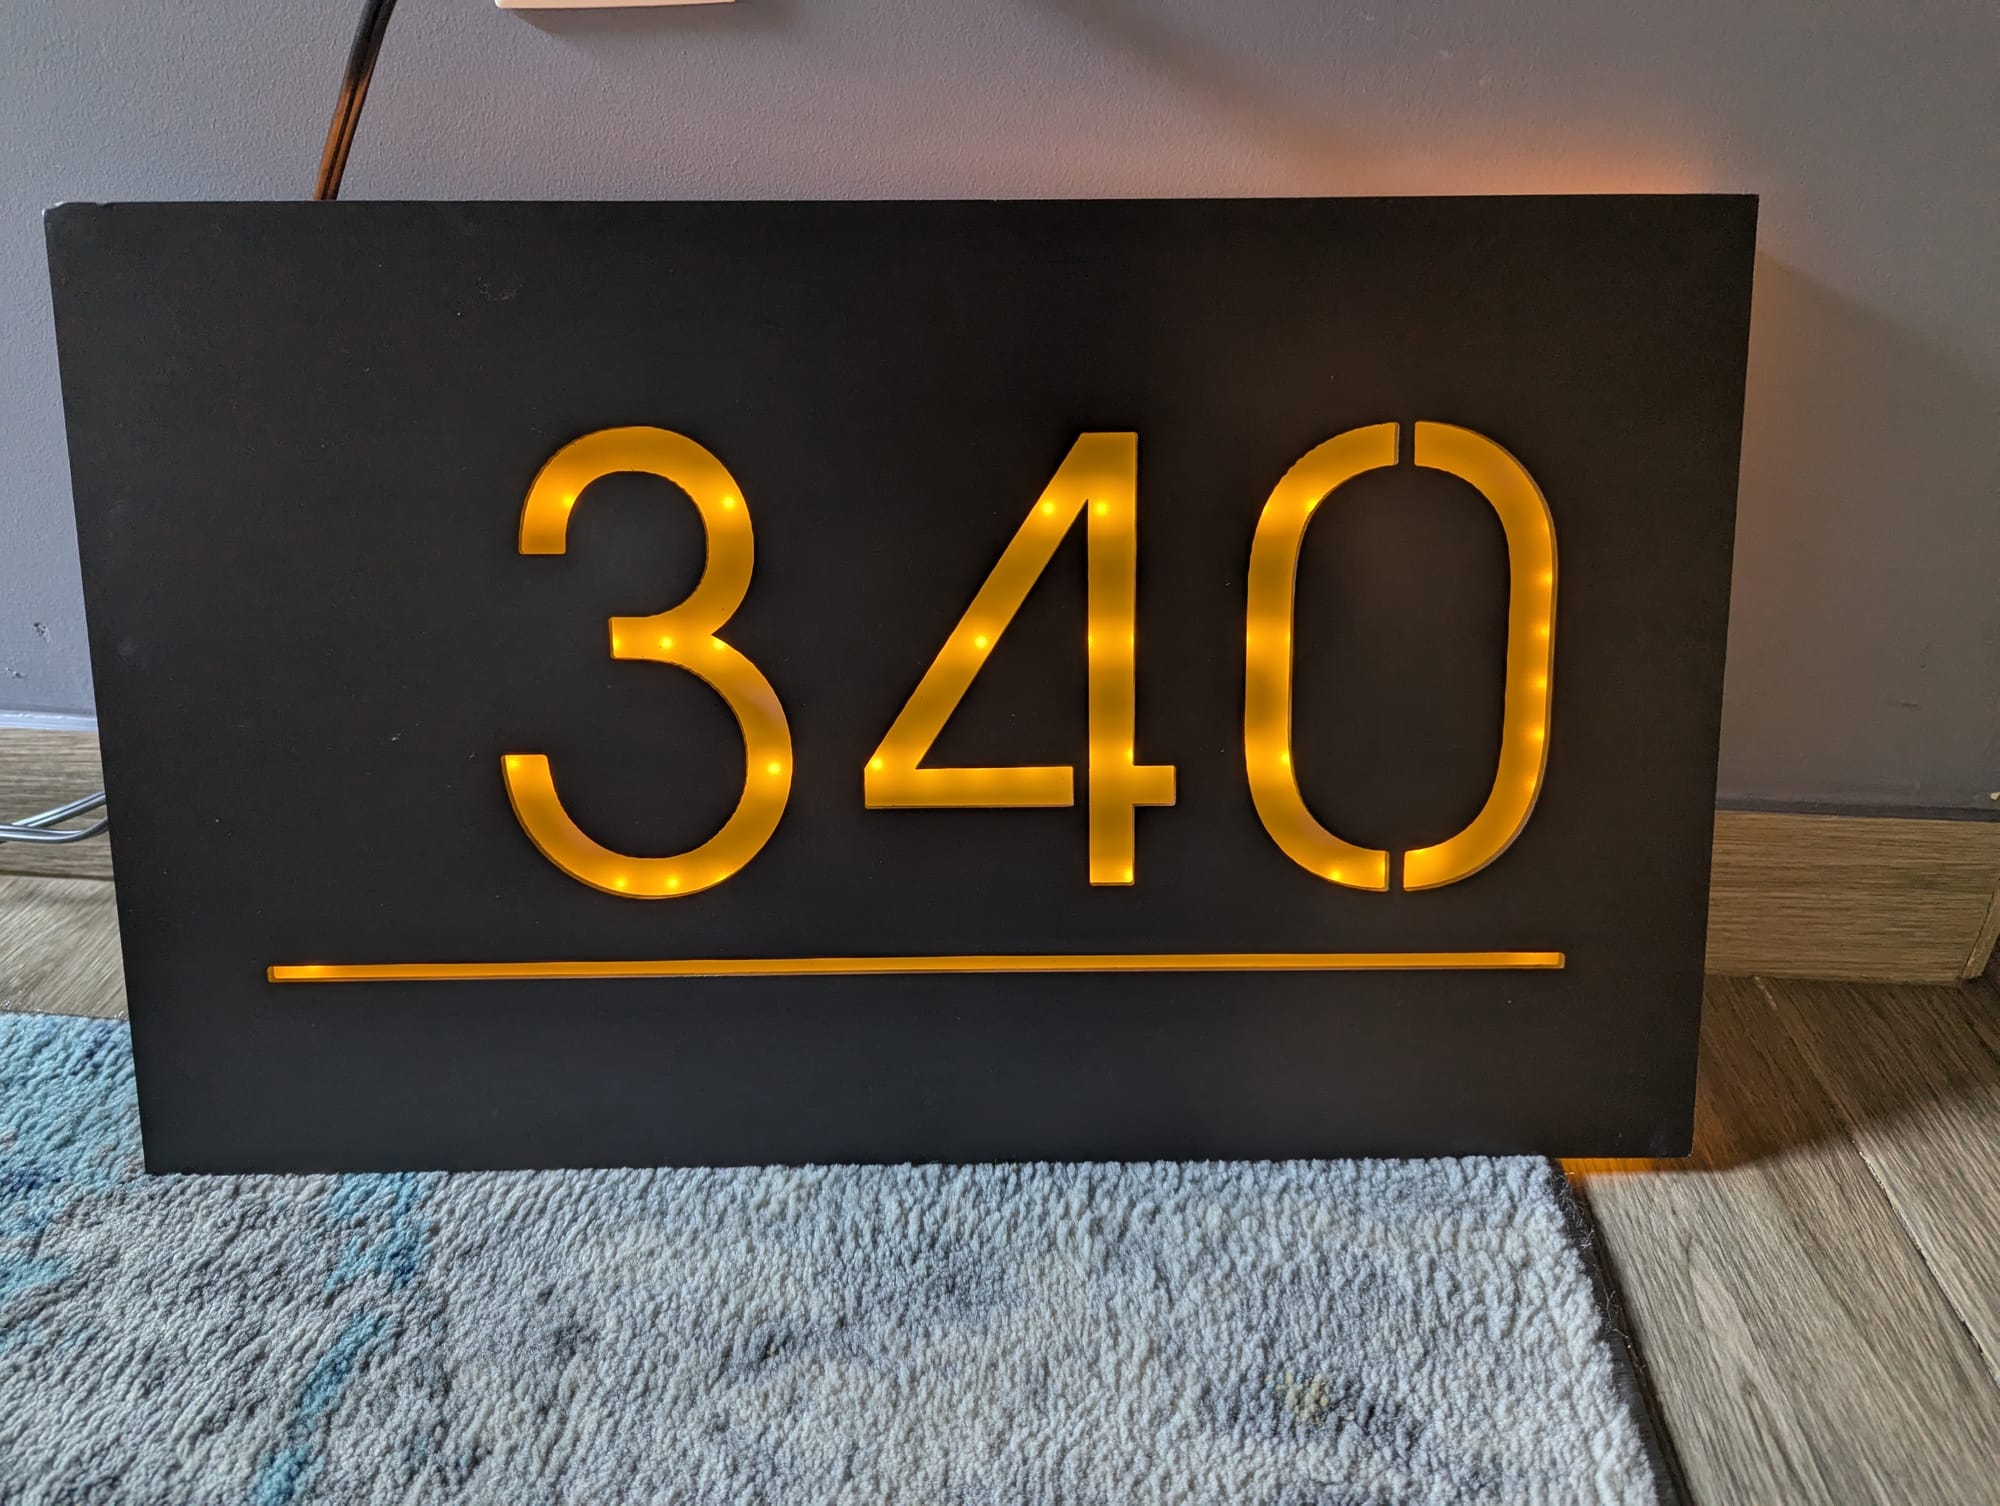
Store page (1808) vs. actual product (340)
It was clear the item I received was too low quality to replace what I already had, so I decided to explore making one myself. Designing and building my own illuminated house number sign was not only a way to ensure it met my standards - but I probably could also have found a good quality one elsewhere. At the same time, it was also a chance to learn and experiment and to get something that is exactly what I'm looking for. And the more I think about it, it would have been hard to find one with features like Zigbee connectivity and an LED strip that could do gradually transition from cool white to warm white.
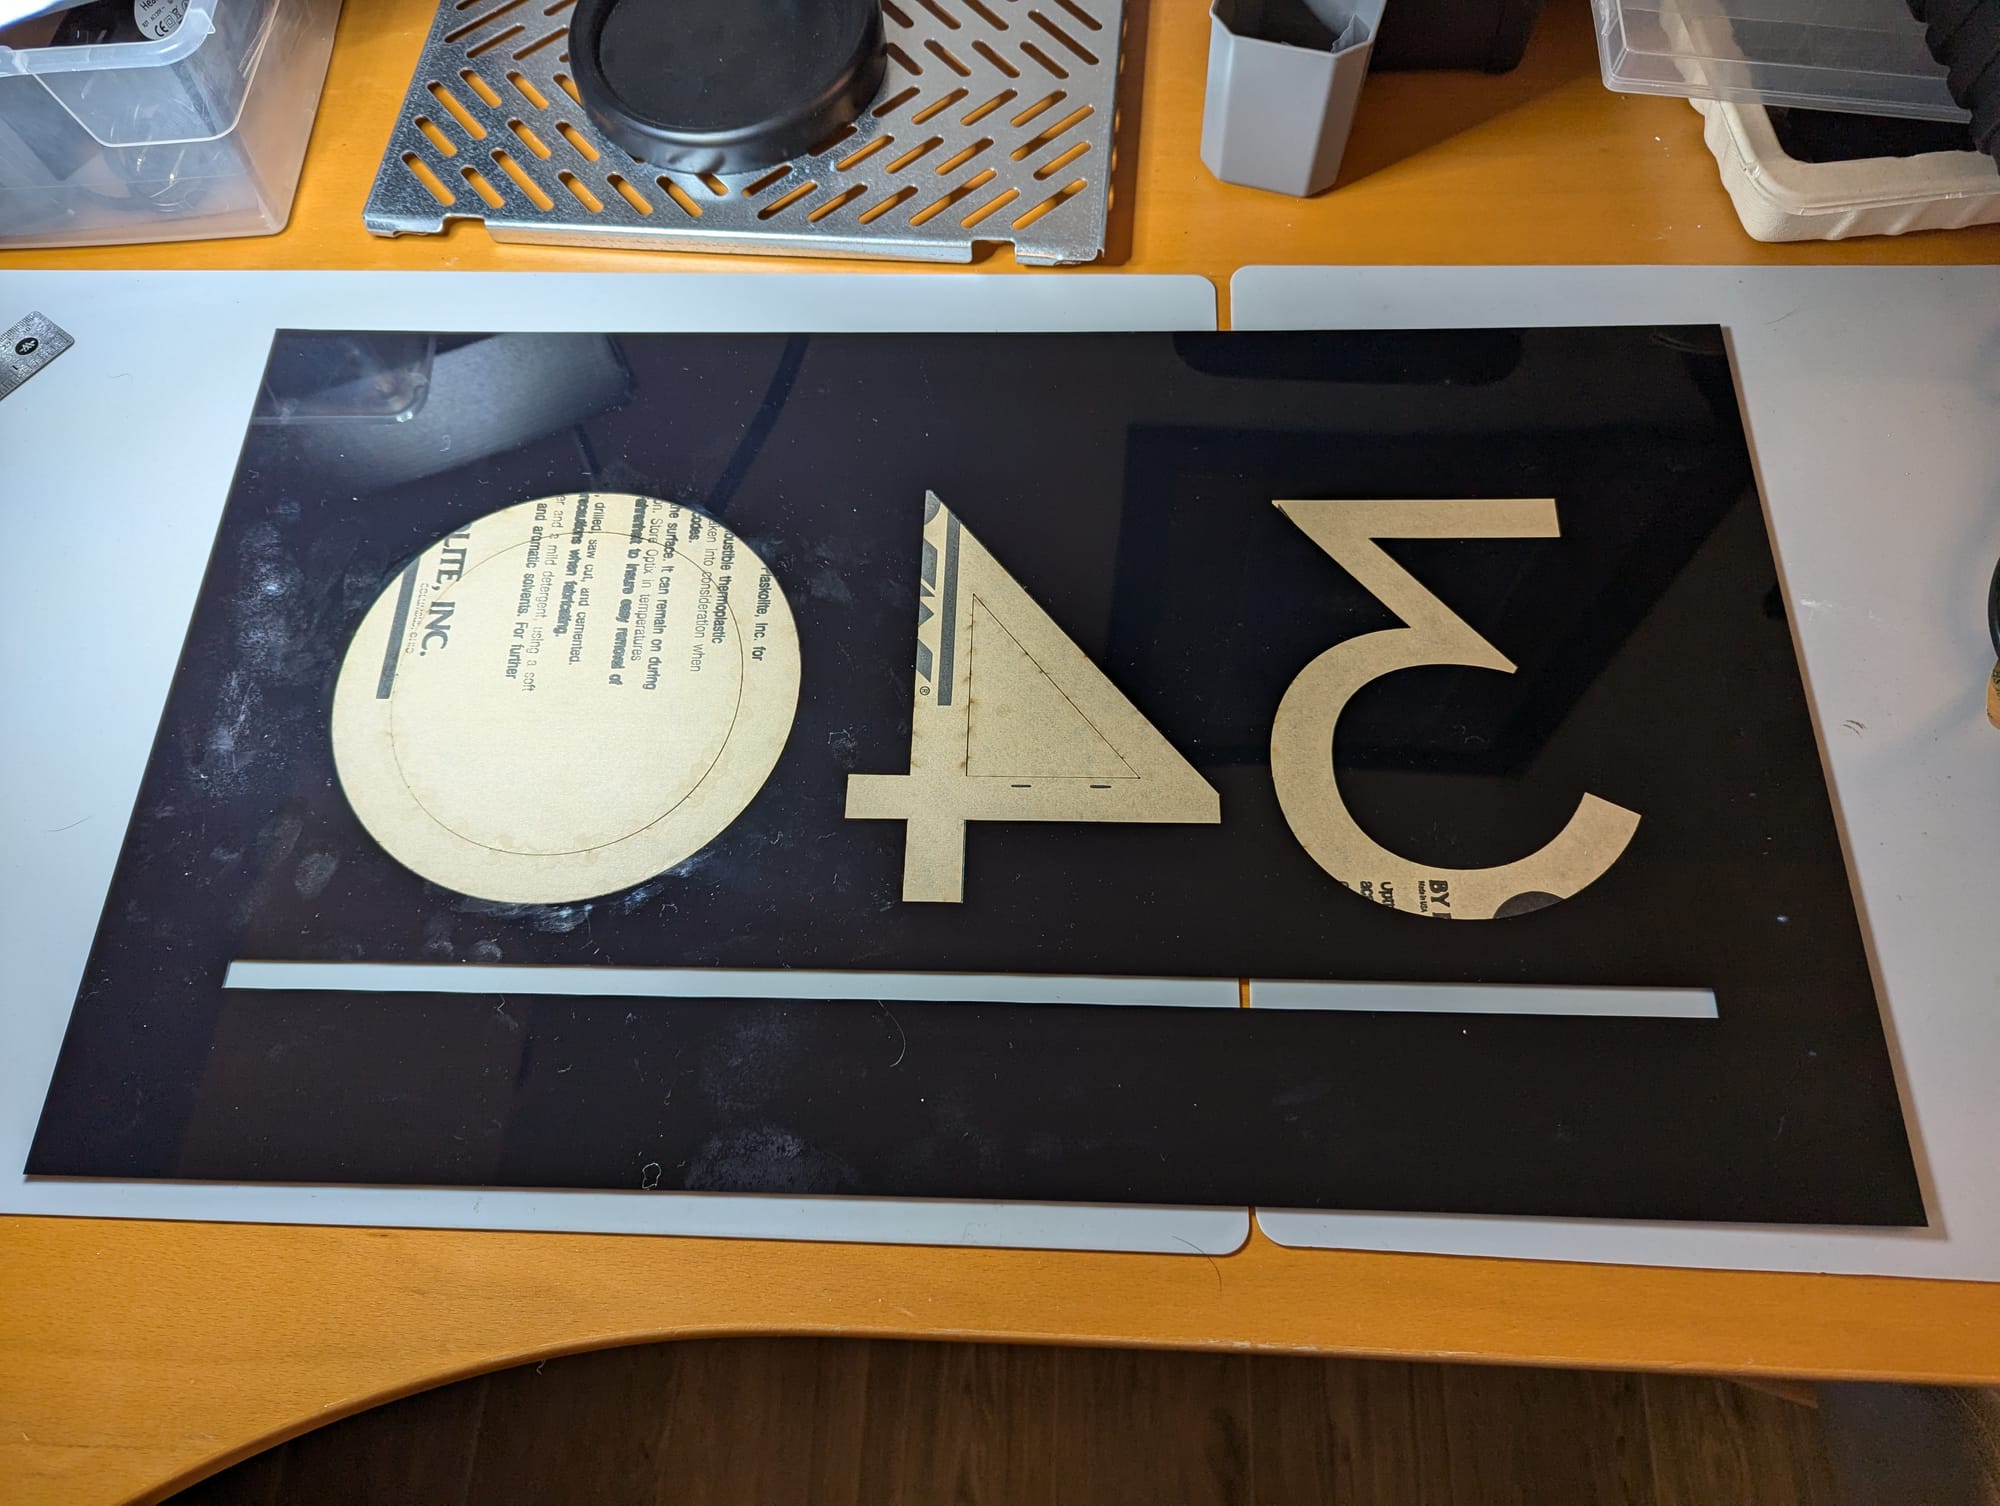
The design process was done in OnShape, with the house numbers created in Inkscape in the font of my choice and then imported into OnShape. I got valuable help from Jake, a tech at Microsoft Garage (a maker space for employees) who assisted with the overall plan, and especially with the CAD modeling part as that's an area I'm not super familiar with.
Overall, while there are a few things I would have done slightly differently, I'm really happy with how the final product came out. The sign is bright, and easy to read from afar. And it turns on when it gets dark and turns off whenever it's too late for anyone to be arriving.
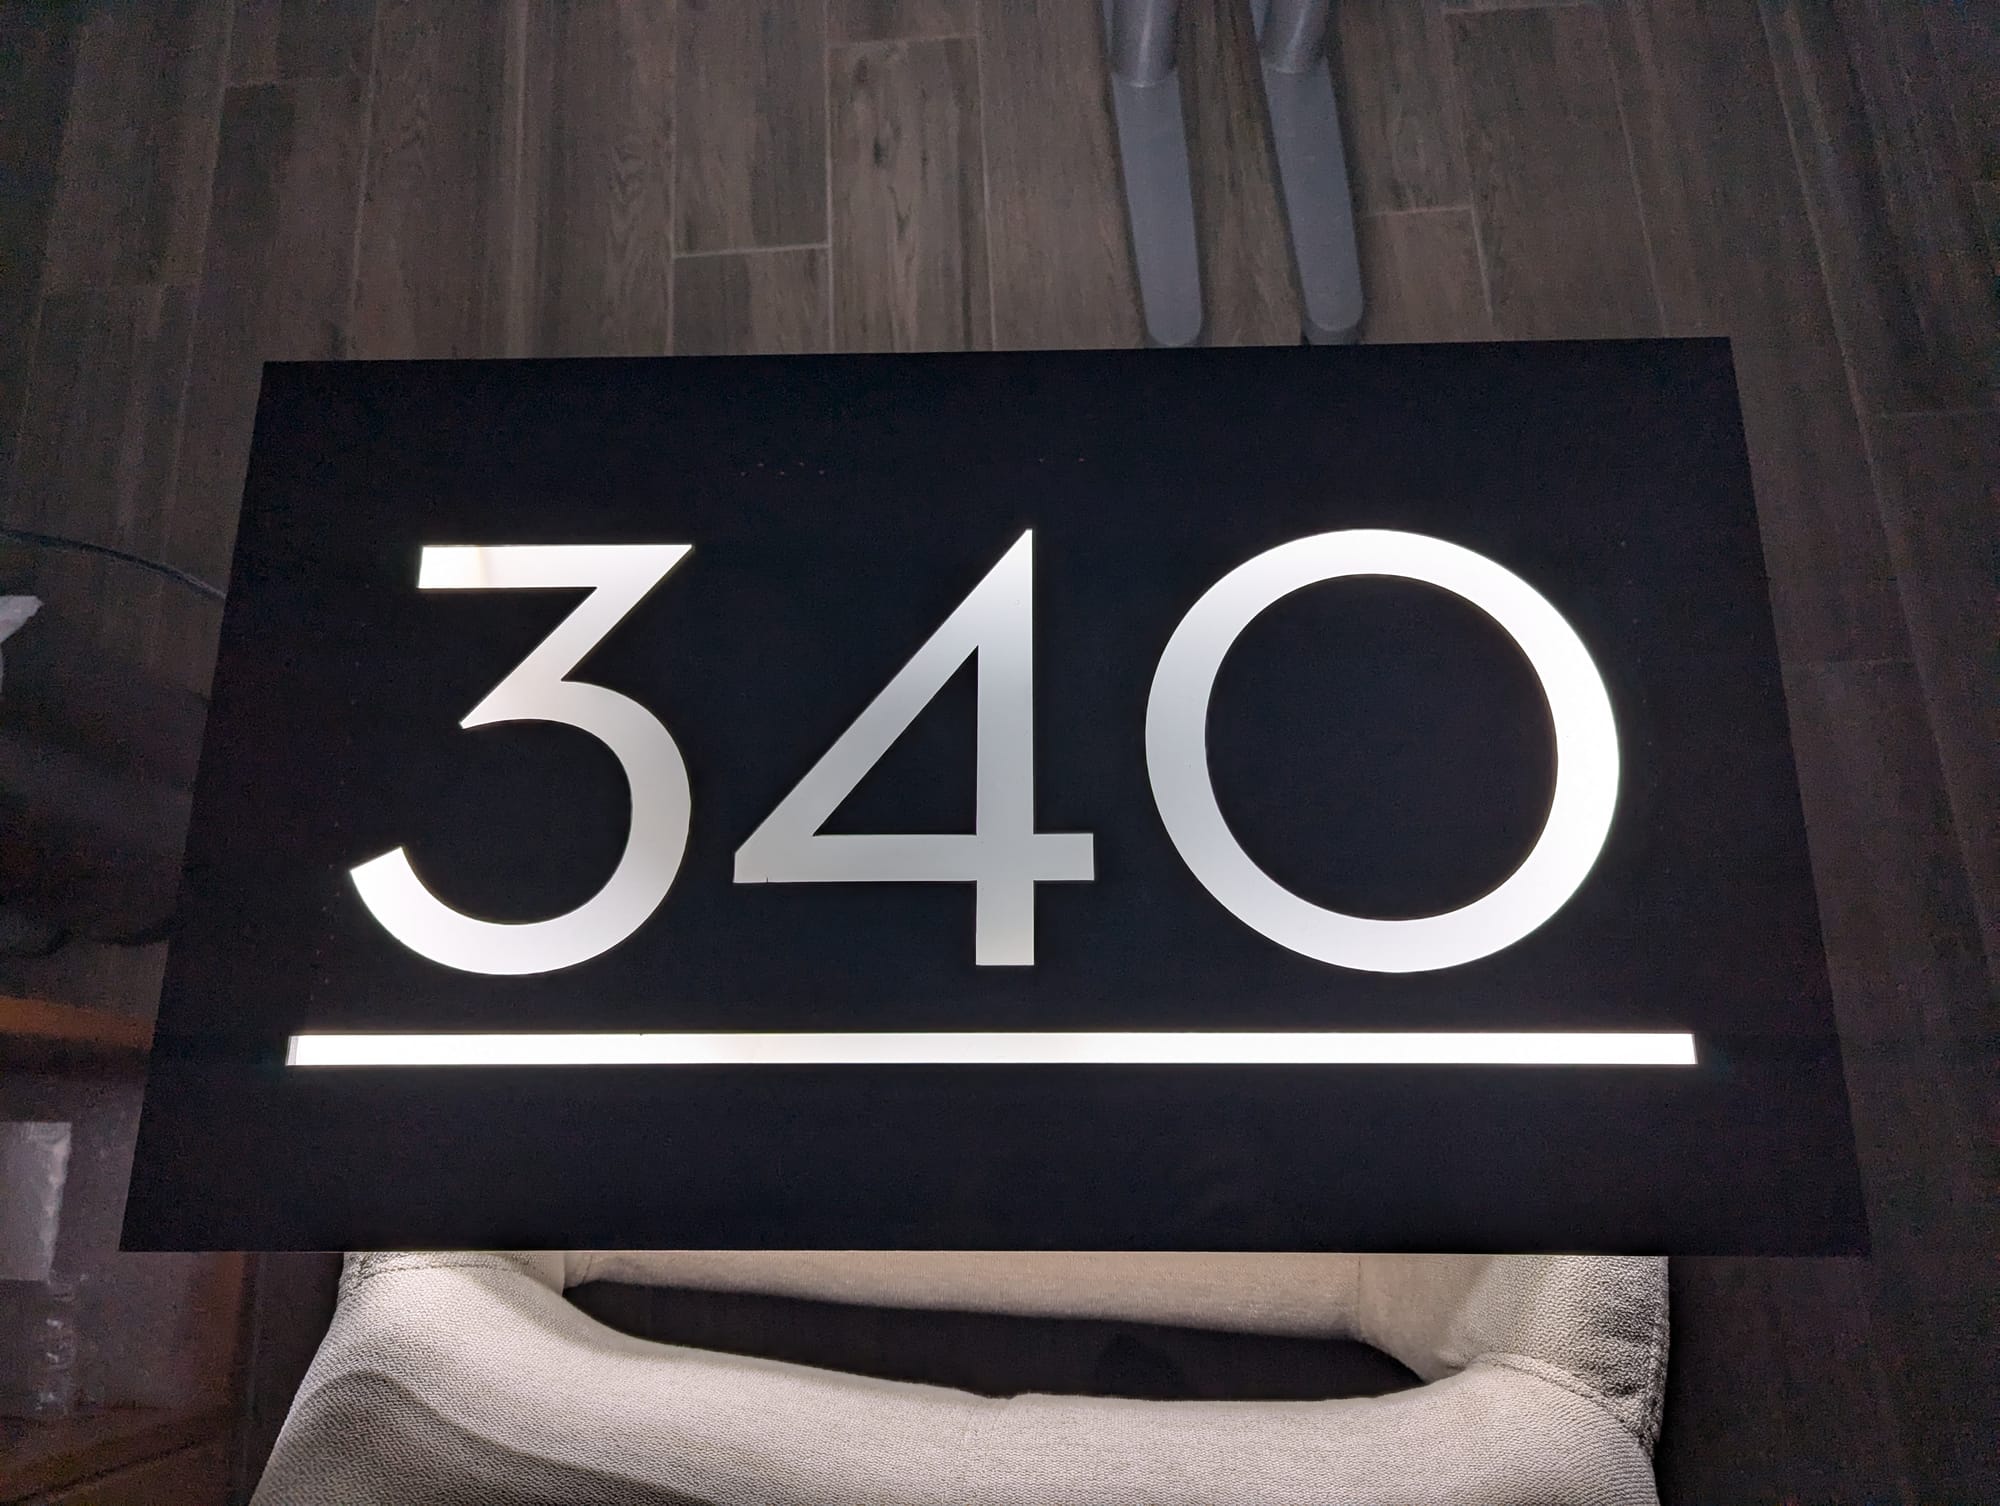
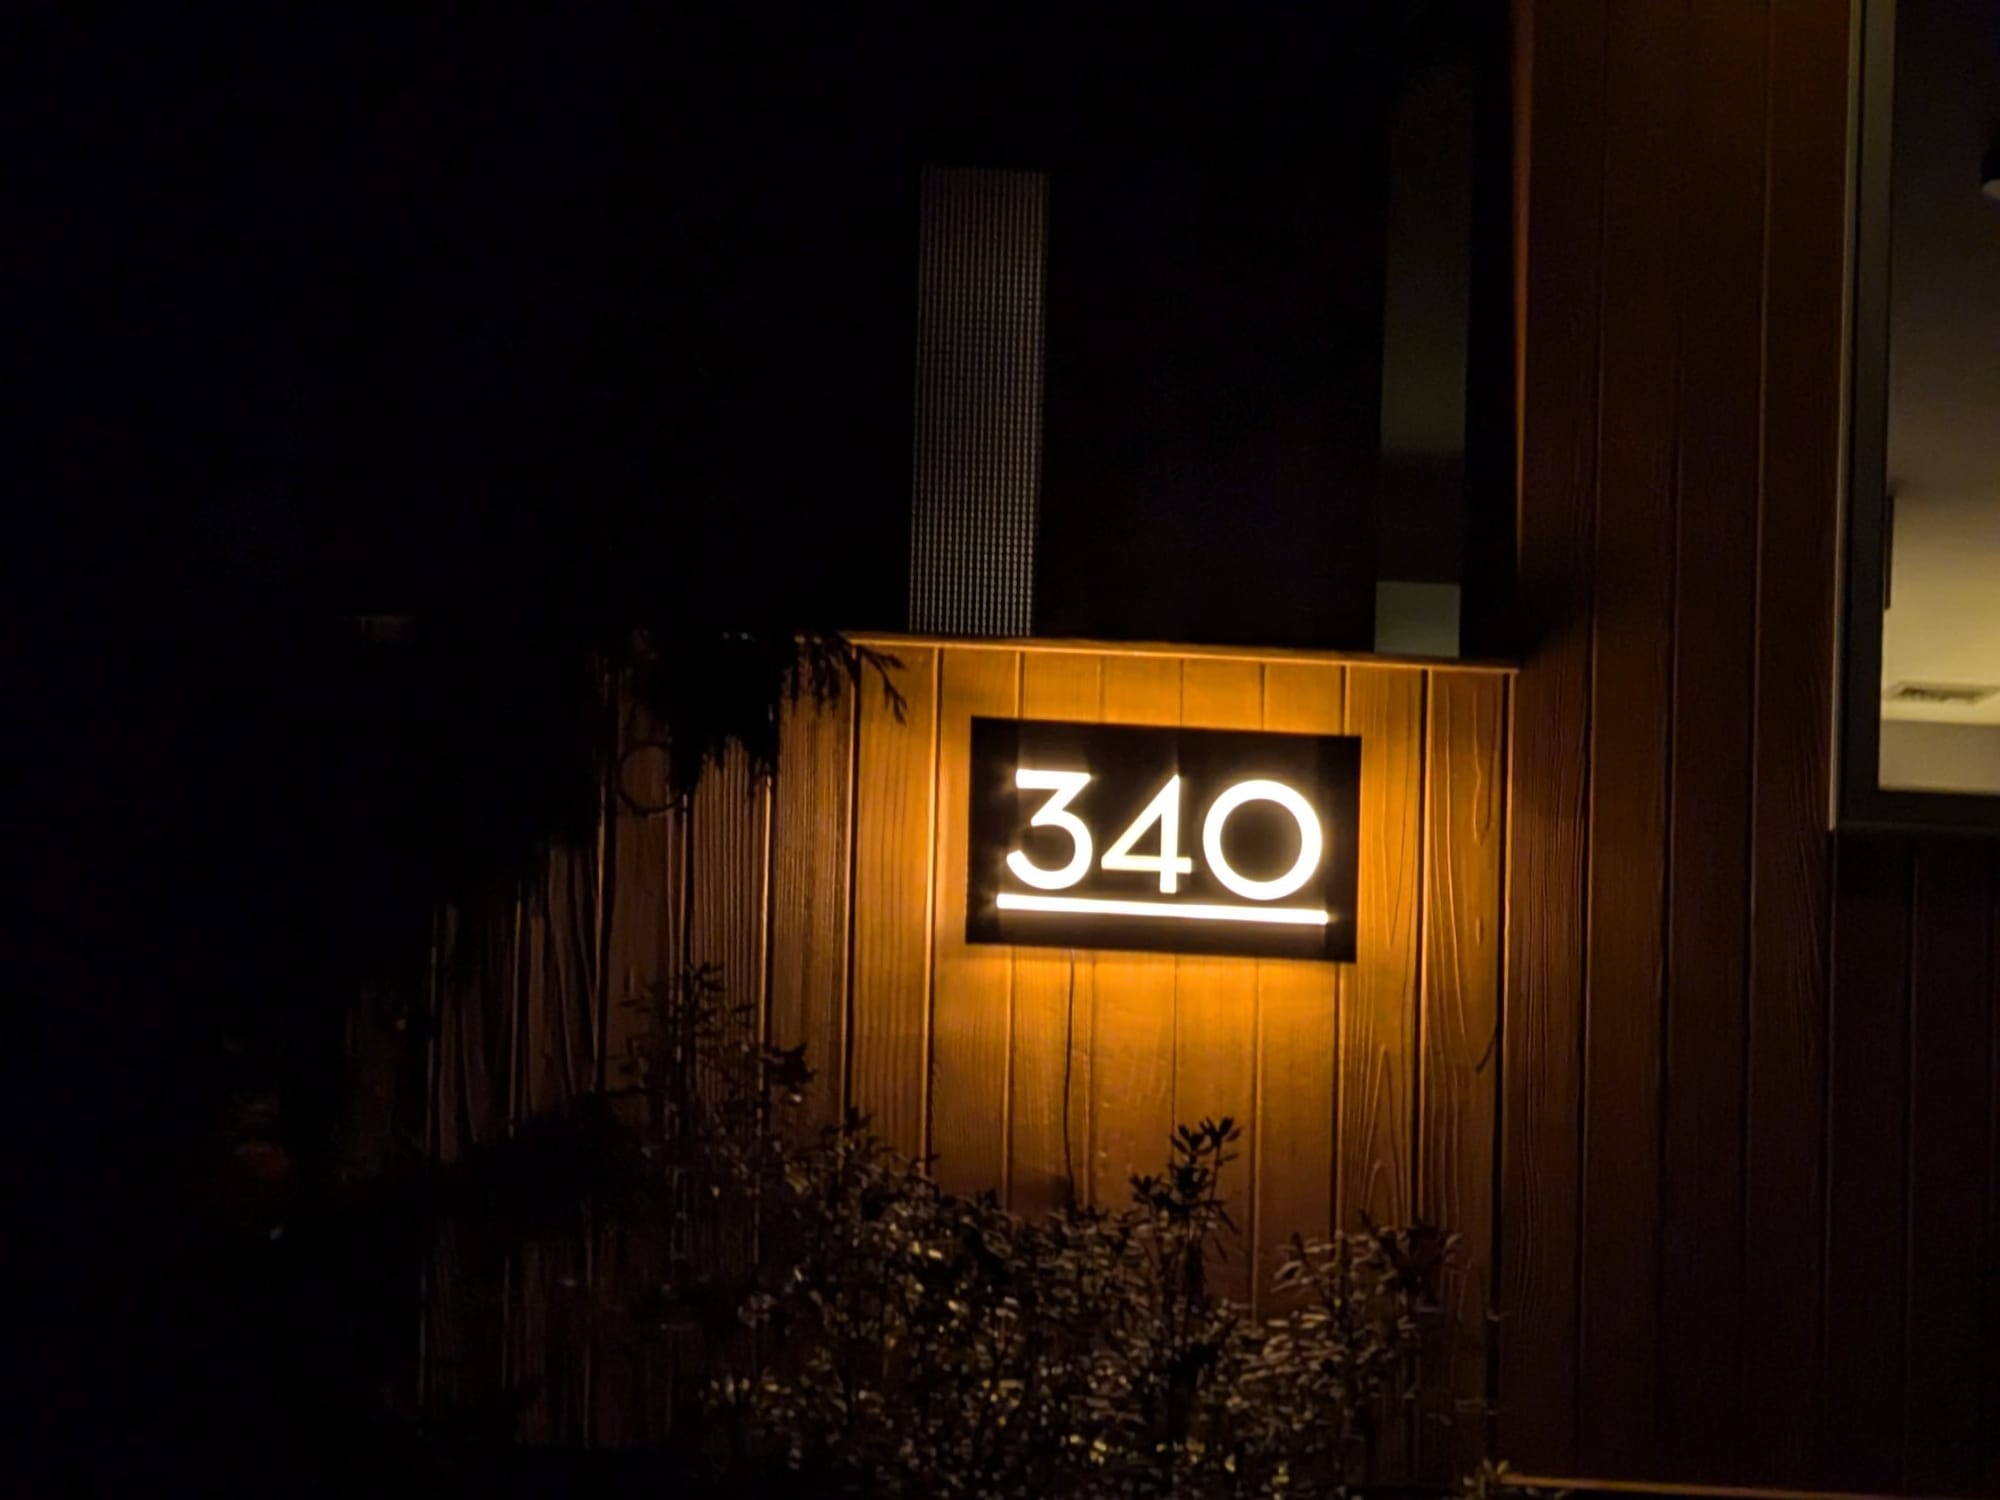
Material and tools
- Acrylic
- Clear (for light-emitting parts of the sign)
- White (for the backing)
- Black (for the facade)
- LED Strips
- A warm white to cold white low-power LED strips that I had left over from a prior project
- Approximately 12 feet from AliExpress (though half would suffice)
- Power Supply Unit (PSU)
- 24V3A from AliExpress
- Since this is going to be outdoors, it should either be a sealed power supply, or be placed in a weatherproof box.
- Controller
- Gledopto ZigBee WW/CW LED controller for smart home integration
- Miscellaneous:
- Low and mains voltage wires
- Rubber grommet (optional)
- Translucent vinyl adhesive for diffusing light
- M5 screws, and matching threaded inserts
- Wood screws for mounting
Overview of the fabrication process
- Cutting and Printing
- The main body was laser-cut from clear acrylic to allow light to pass through.
- Additional components were FDM 3D-printed for precision and ease.
- Assembly
- The black acrylic with the numbers was fixed to the front of the clear acrylic enclosure. Translucent vinyl is acting as a diffuser for even lighting that's easy on the eyes.
- LED strips were carefully arranged inside to avoid visible hotspots.
- The setup is powered by a 24V3A PSU and controlled through ZigBee for smart lighting capabilities.
Designing things in OnShape was not only needed to generate the artifacts for the laser cutter, but it also helped visualize the final product which led to important decisions around avoiding LED hotspots, screw placement, and just generally how the pieces would fit together. OnShape is free for personal use, the main restriction being that your projects are public - not an issue for me.
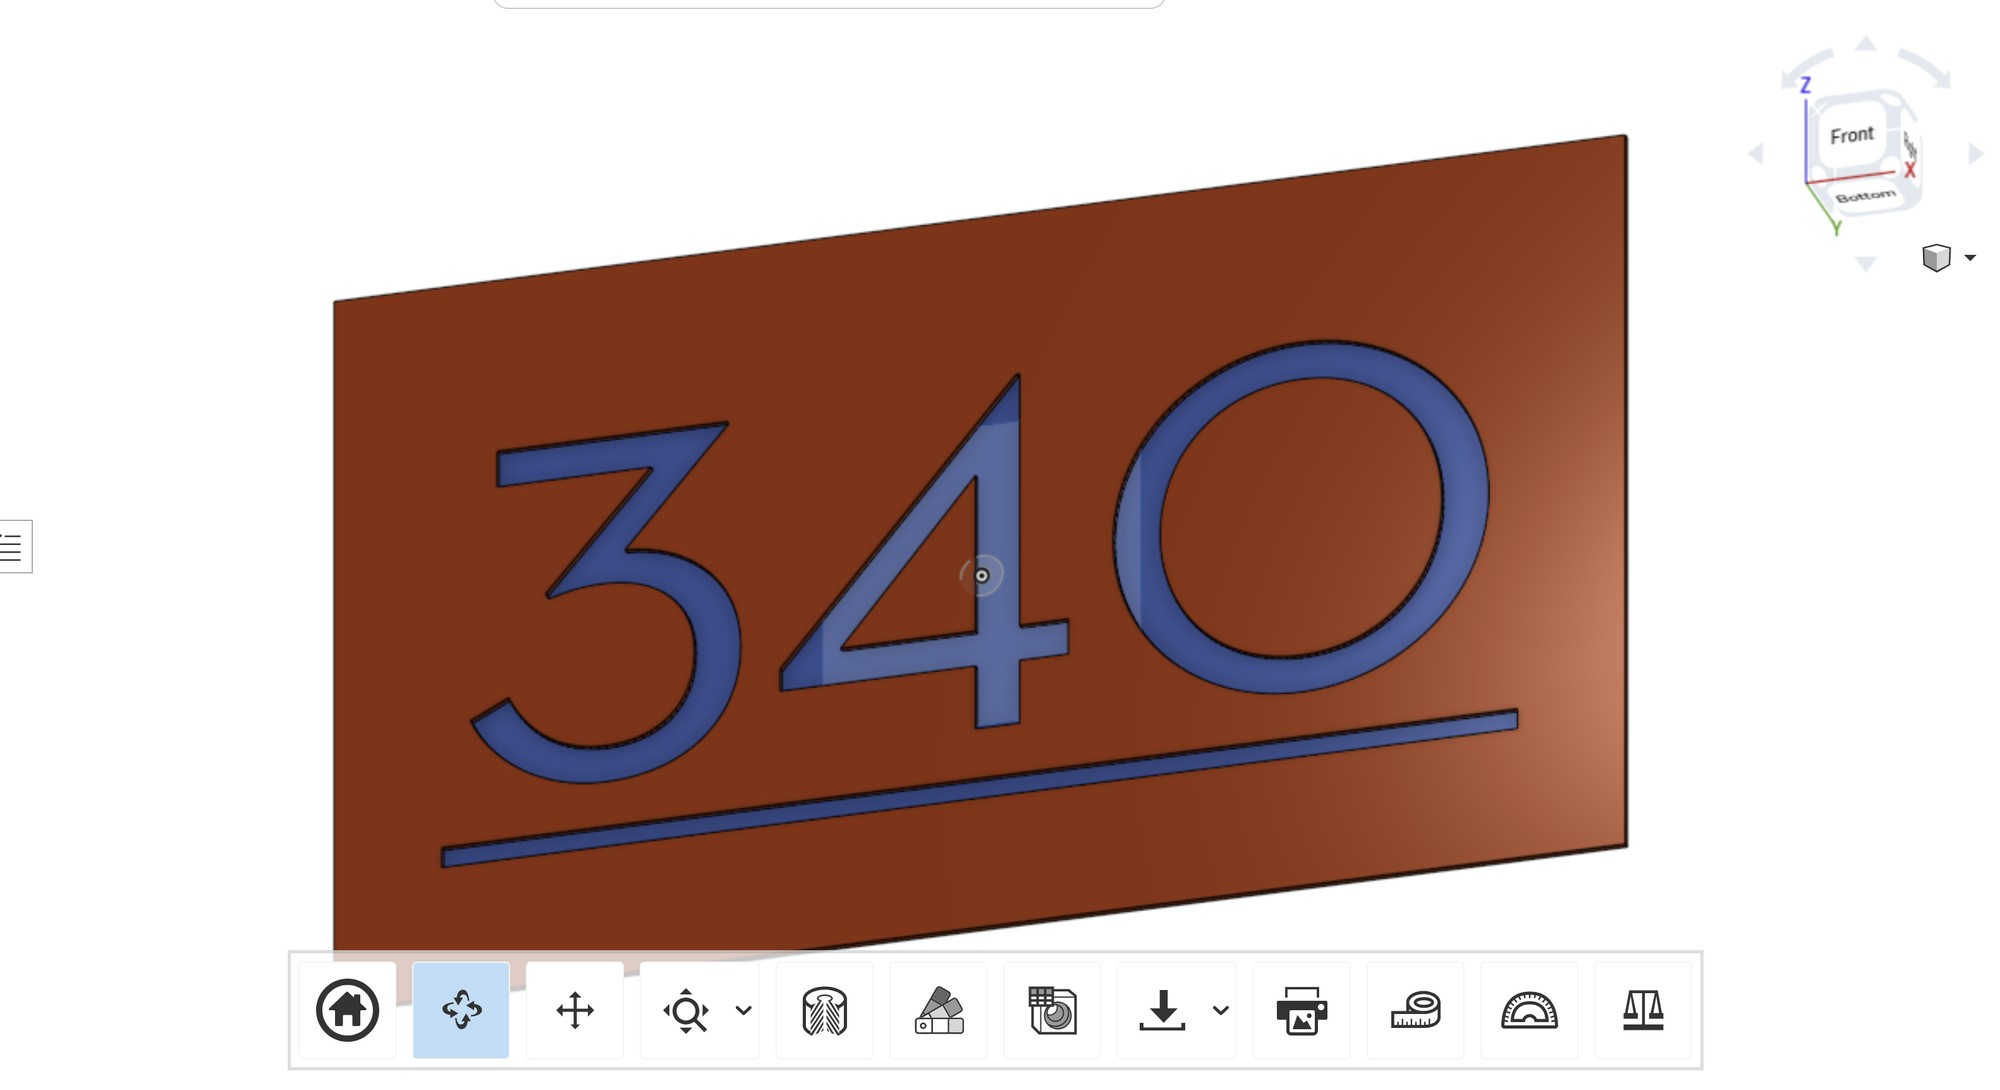
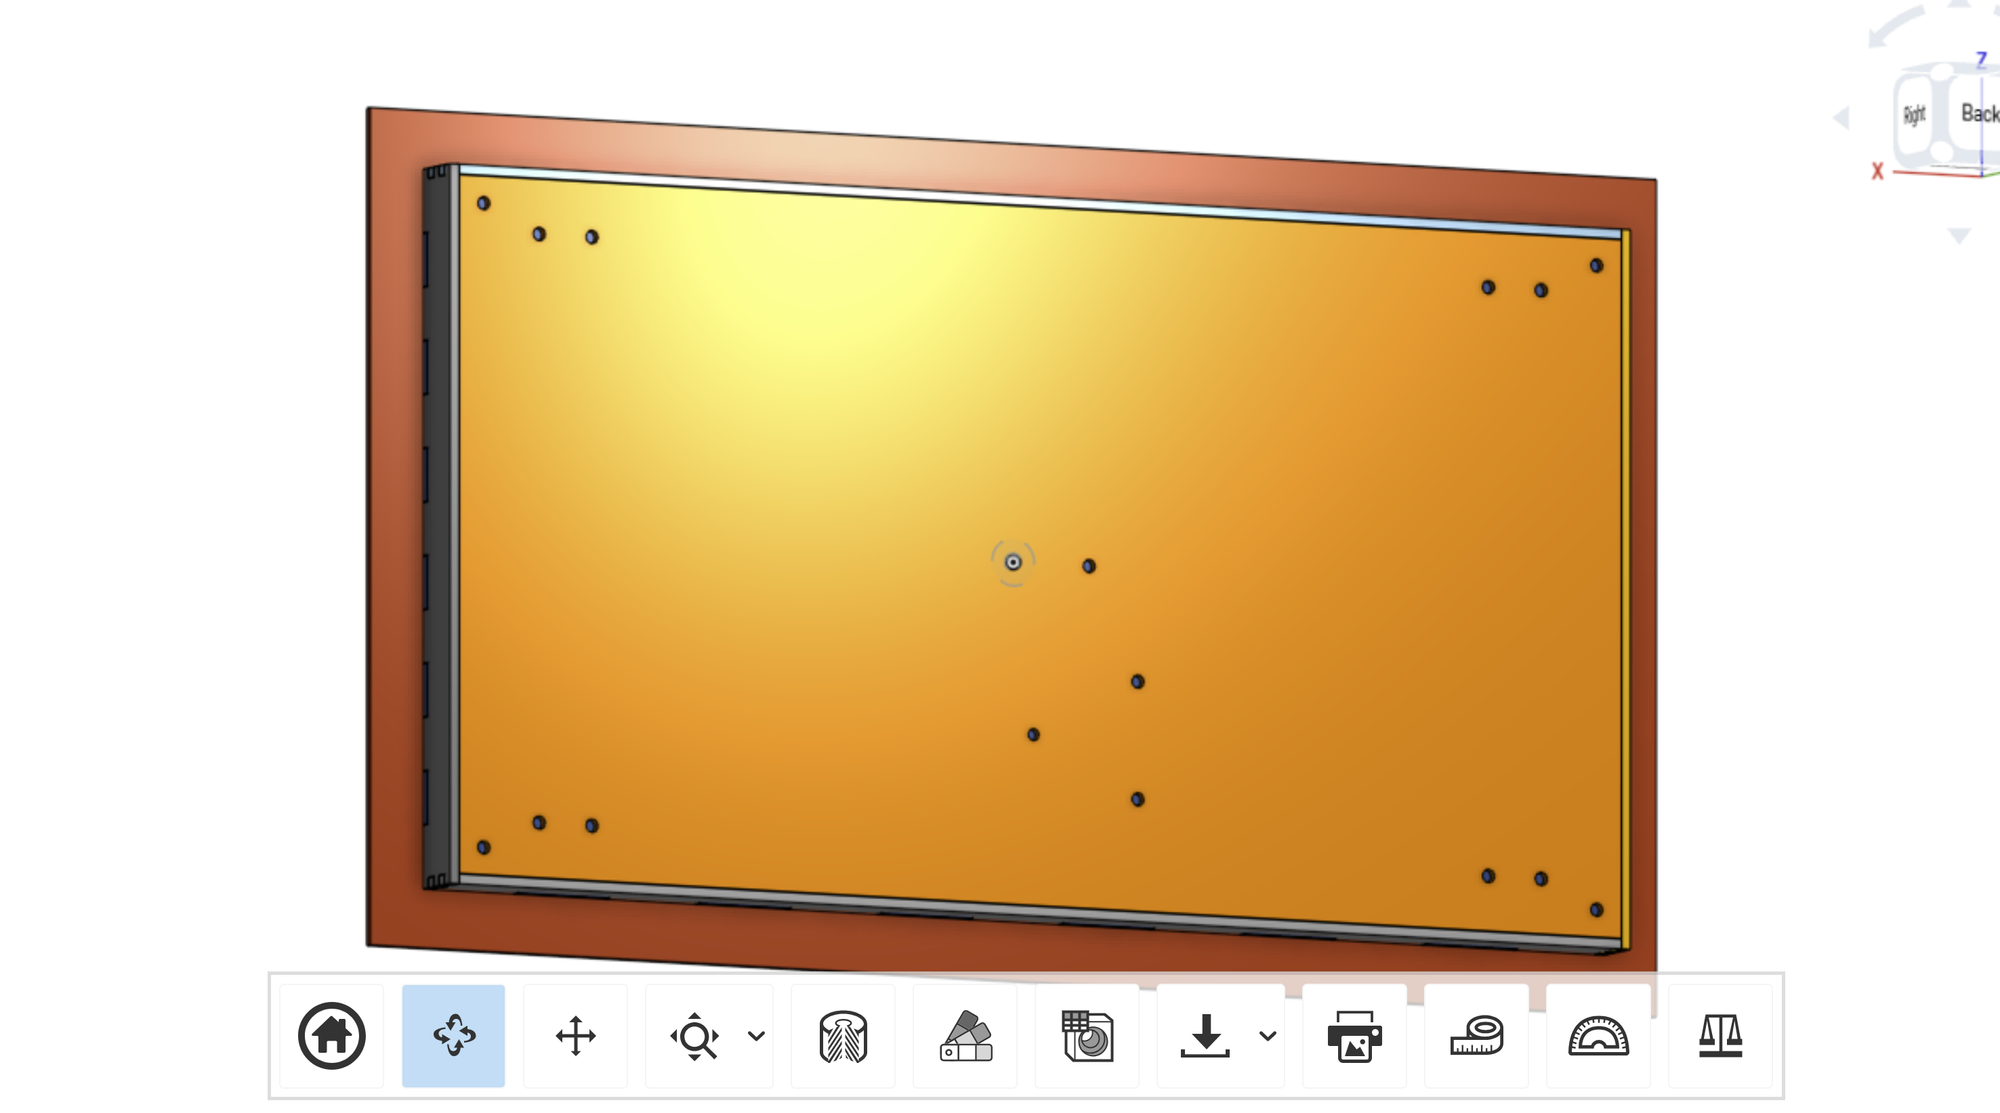
Then, it was time to cut the pieces using the laser cutter. What a cool piece of equipment!
Without a laser cutter to cut the acrylic, this project would be more difficult to achieve, and less fun!
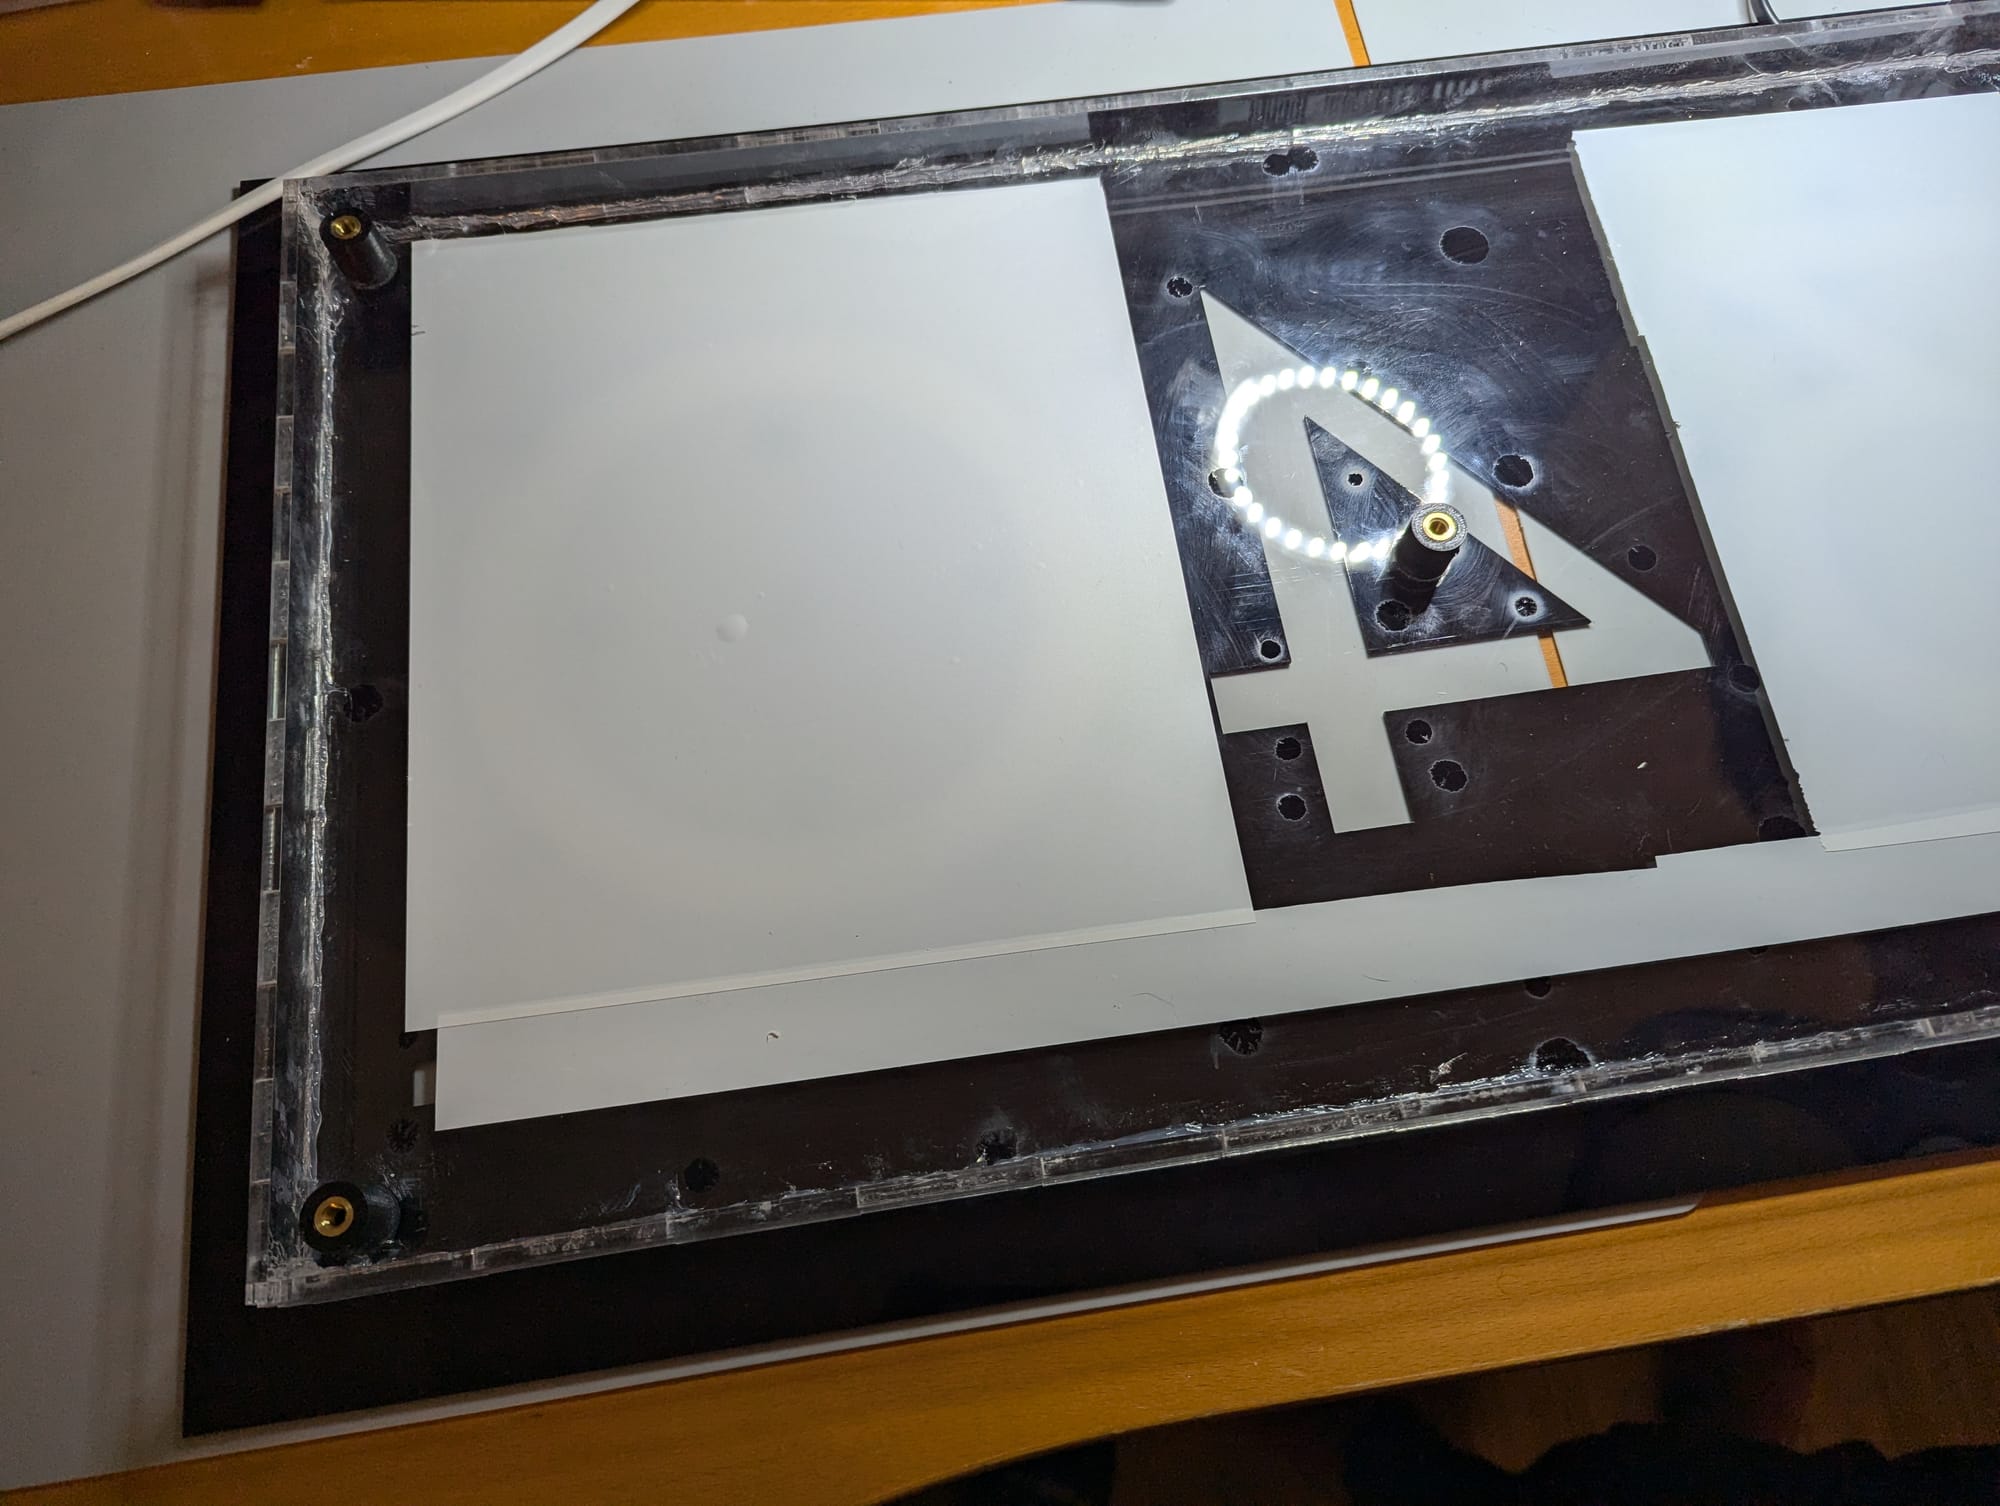
I designed some 3D printed standoffs and embedded threaded inserts into each using a soldering iron as a heat source. Then, I glued each of the standoffs to the inner part of the housing. These will be used to hold the back panel in place with M5 screws.
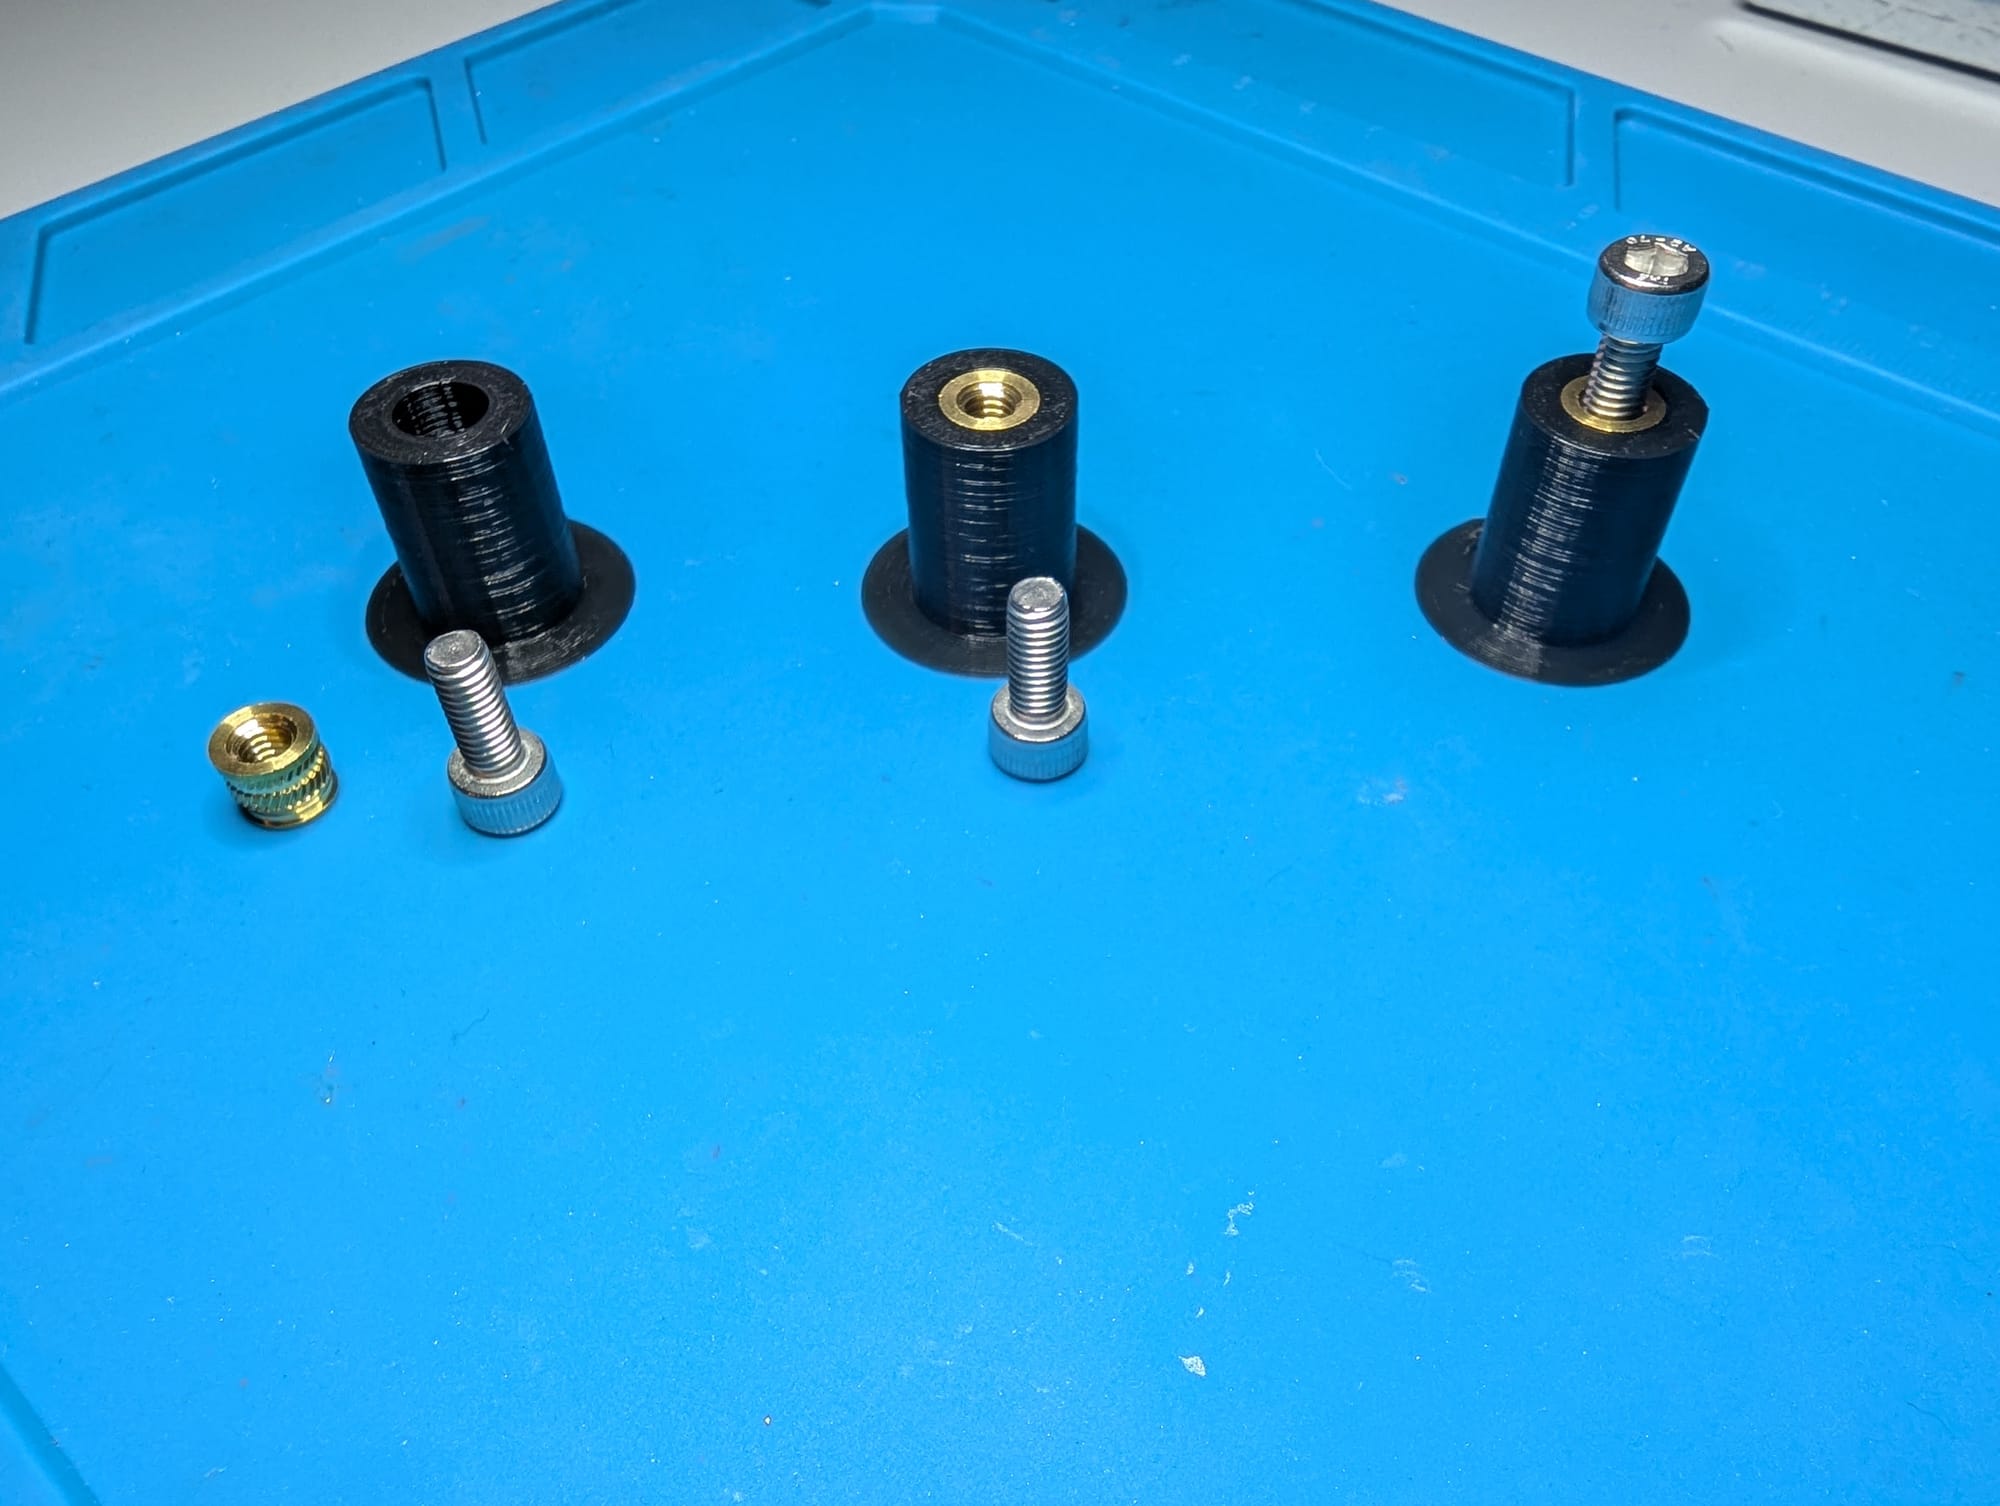
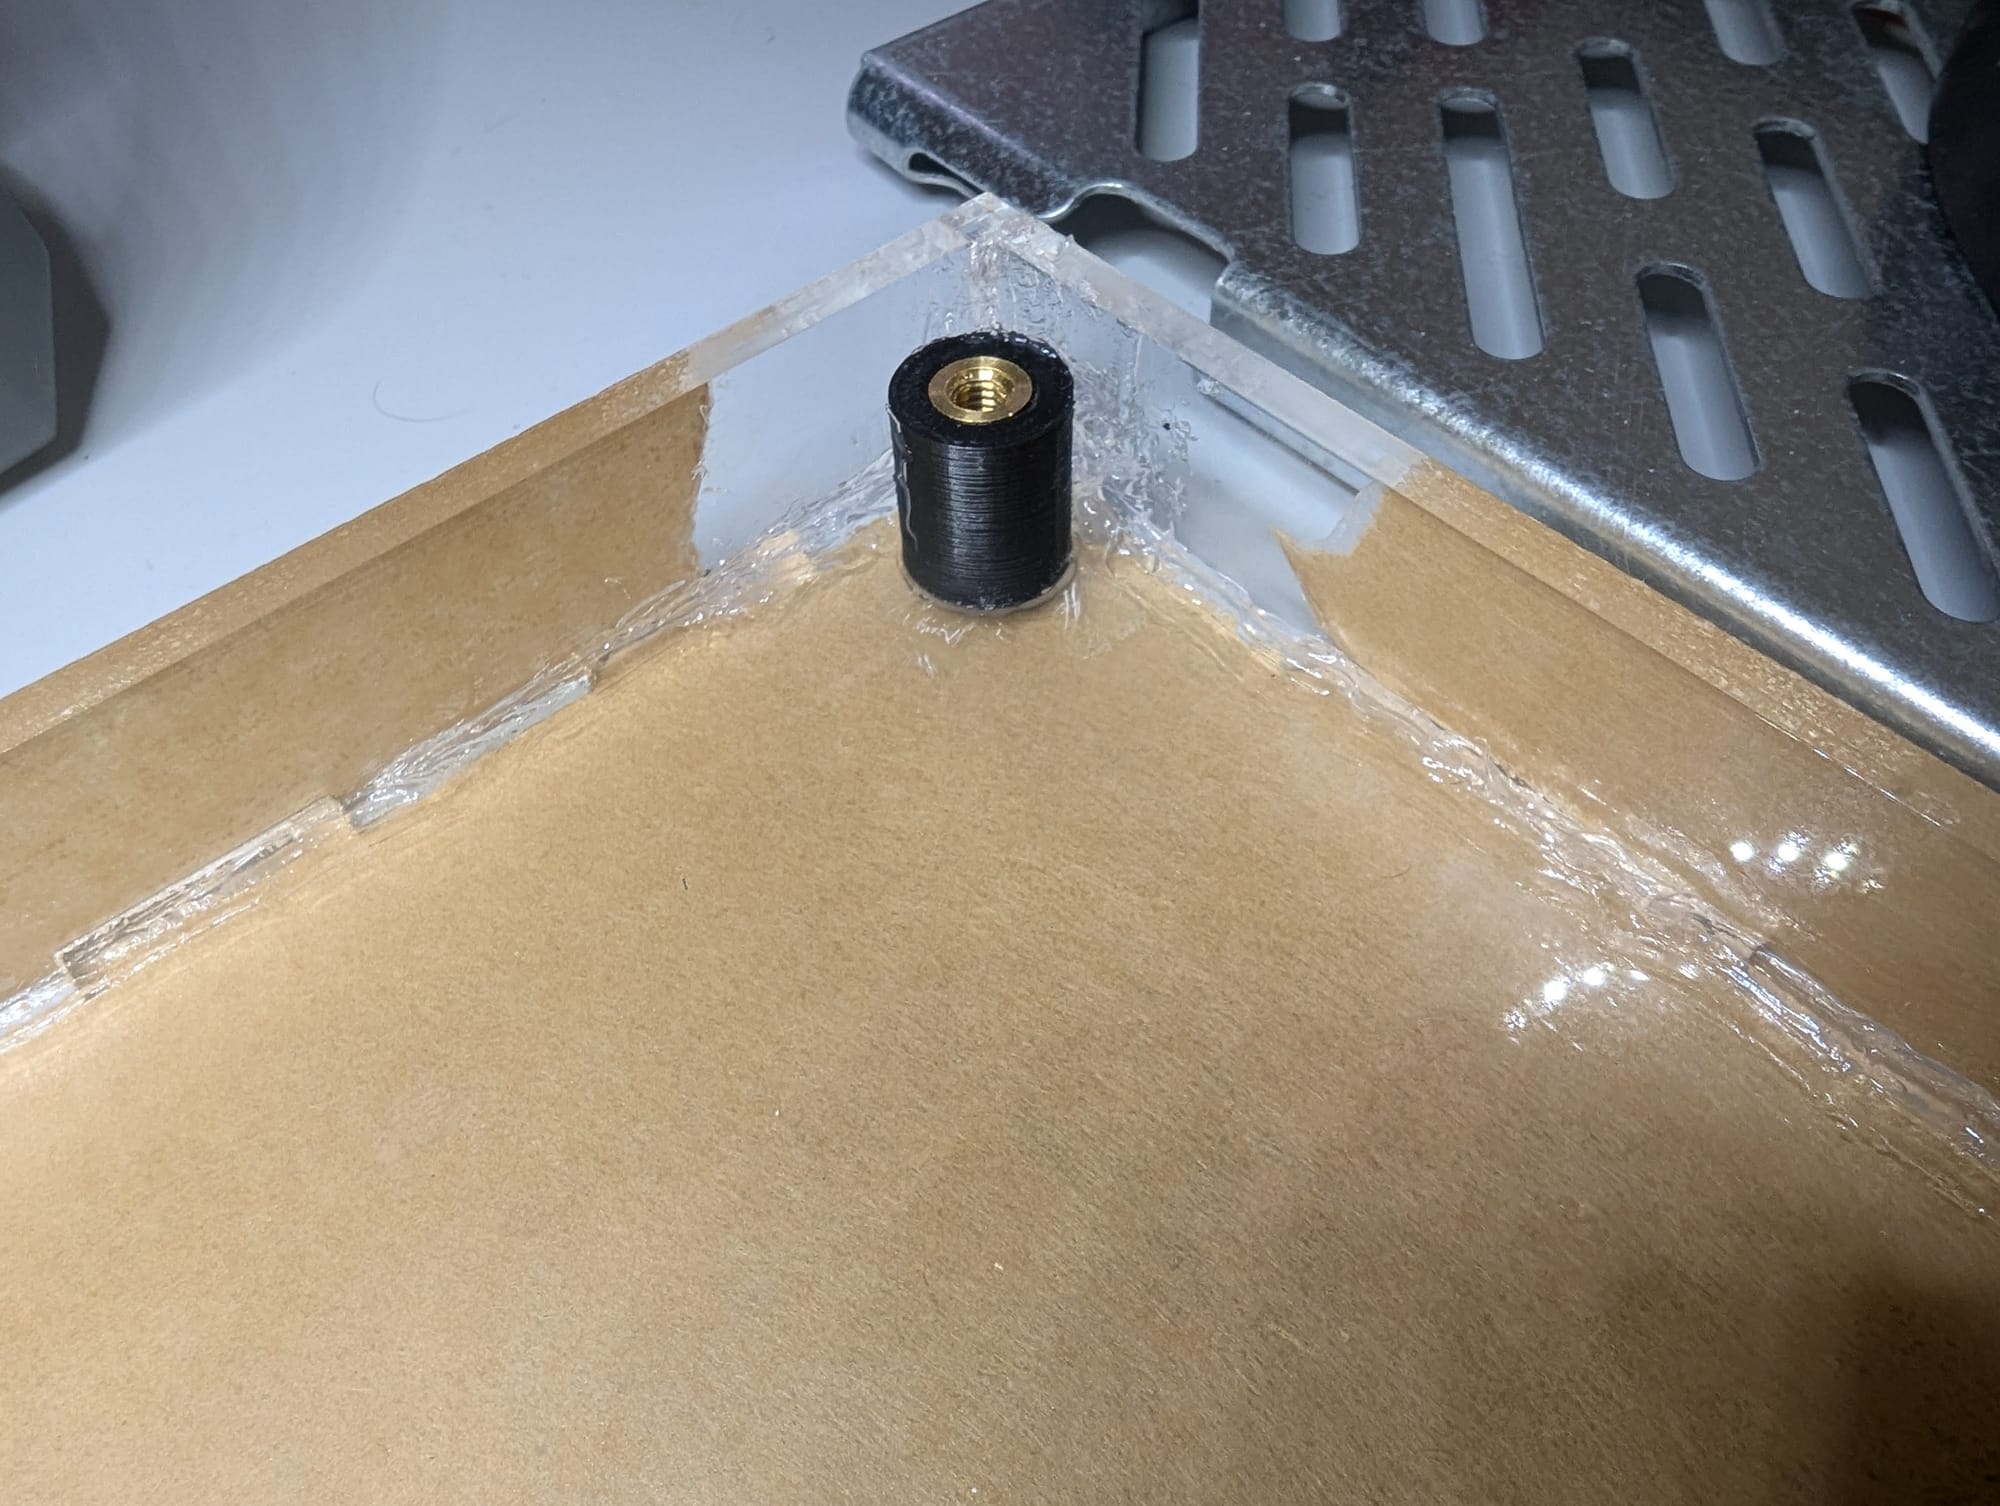
3D printed standoffs with threaded inserts (first image). Standoff fixed in place on the inner portion of the housing.
I then added some translucent adhesive vinyl to act as a diffused for the numbers. And adhered the black acrylic facade to the clear box.
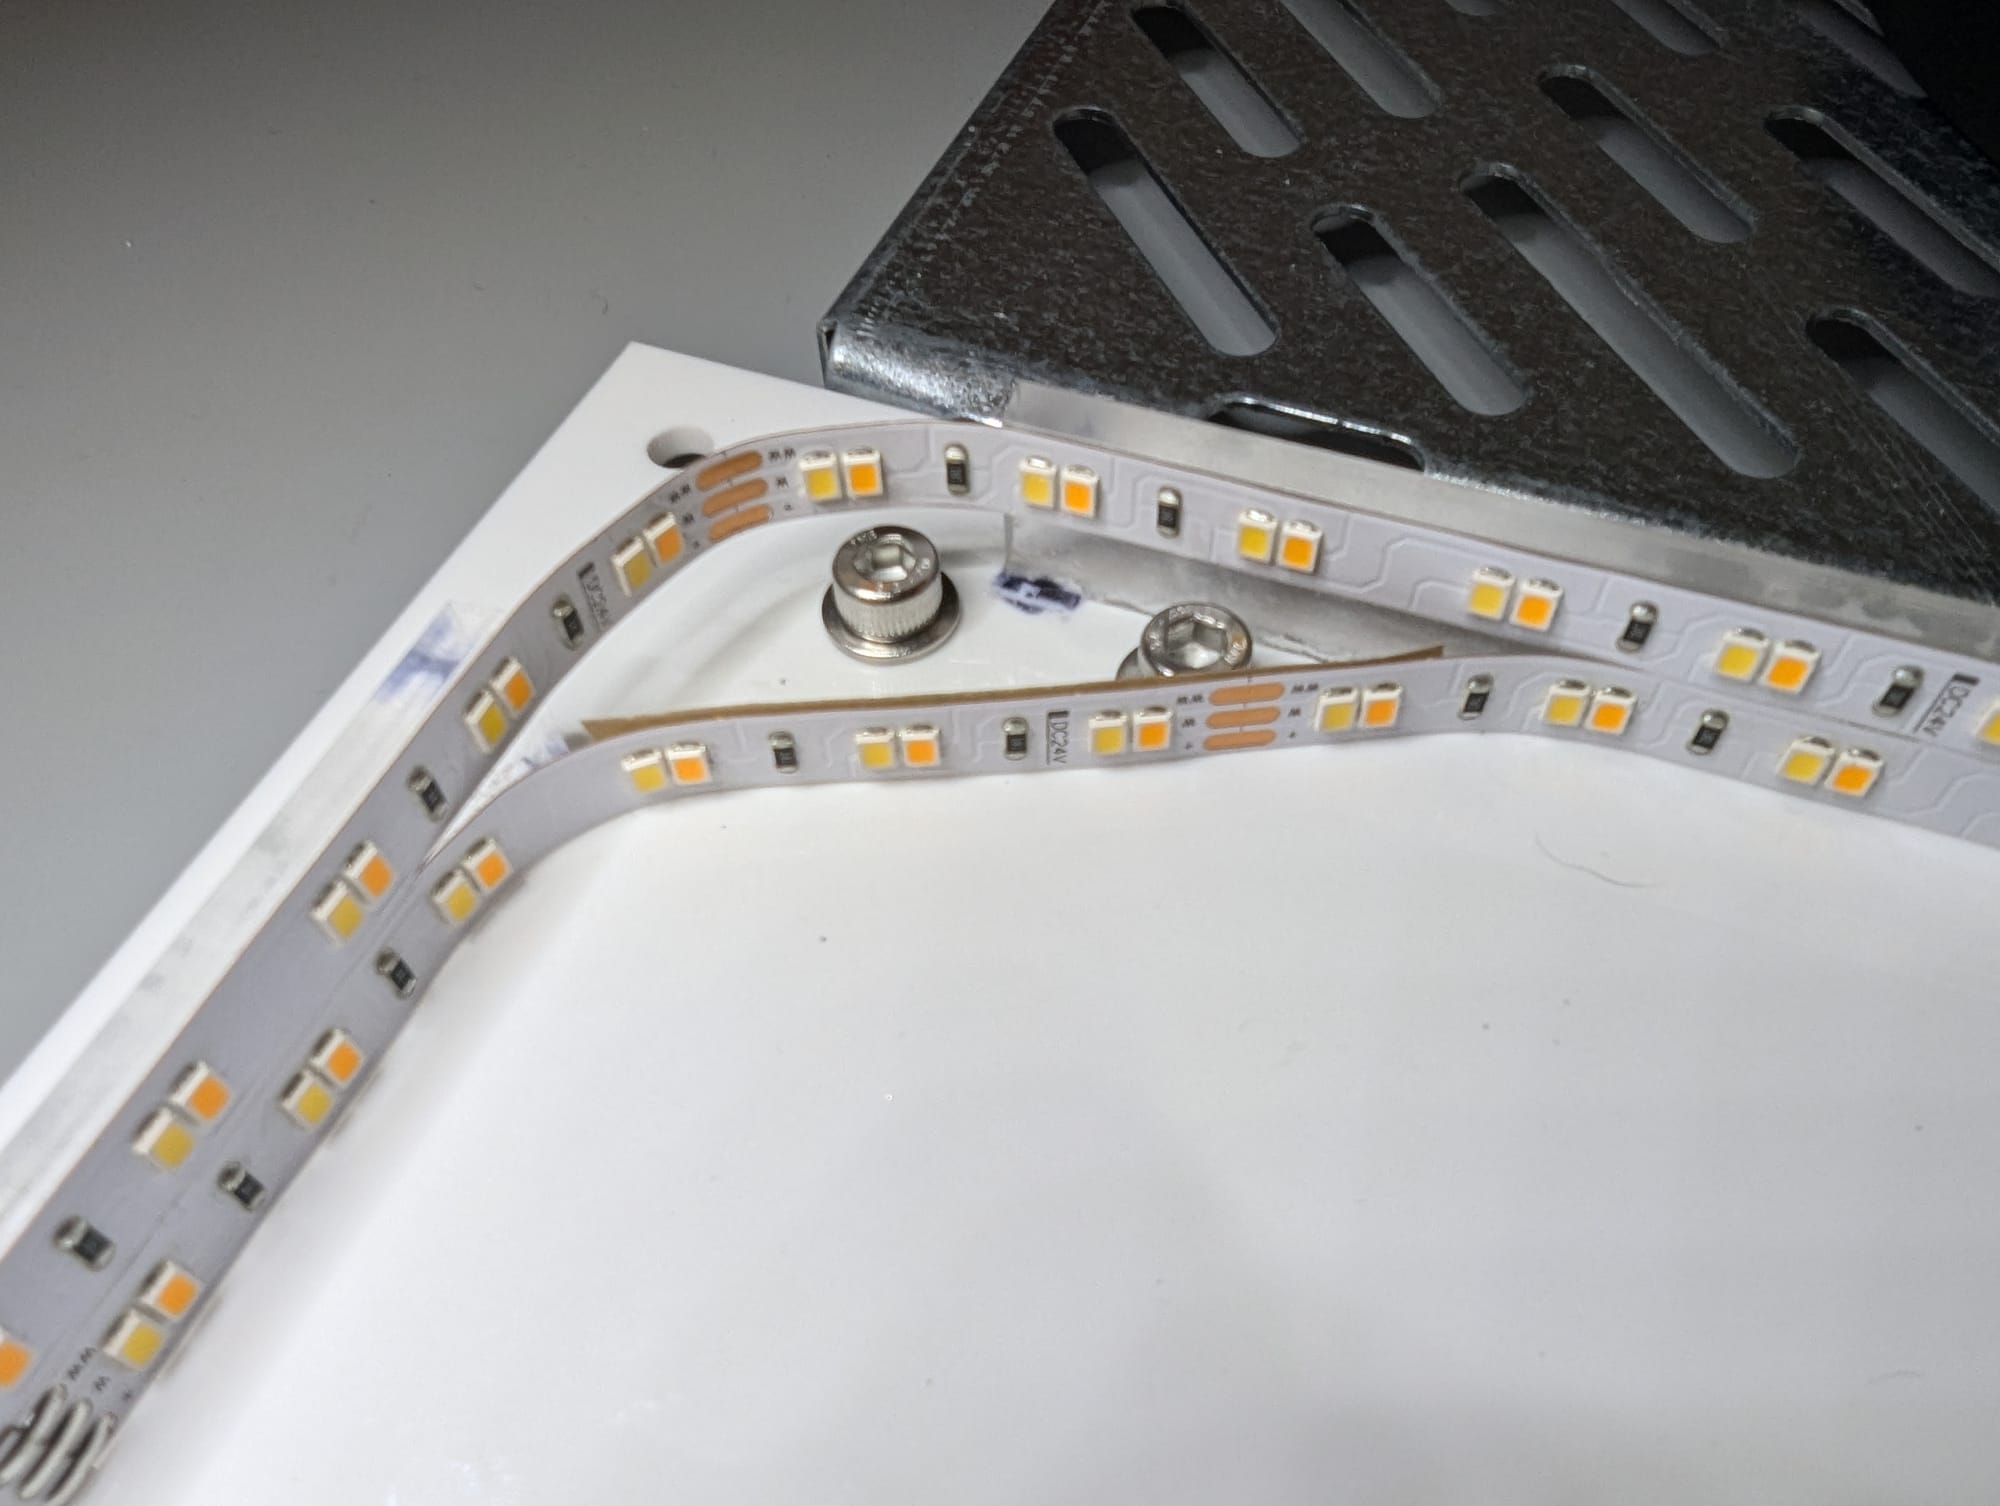
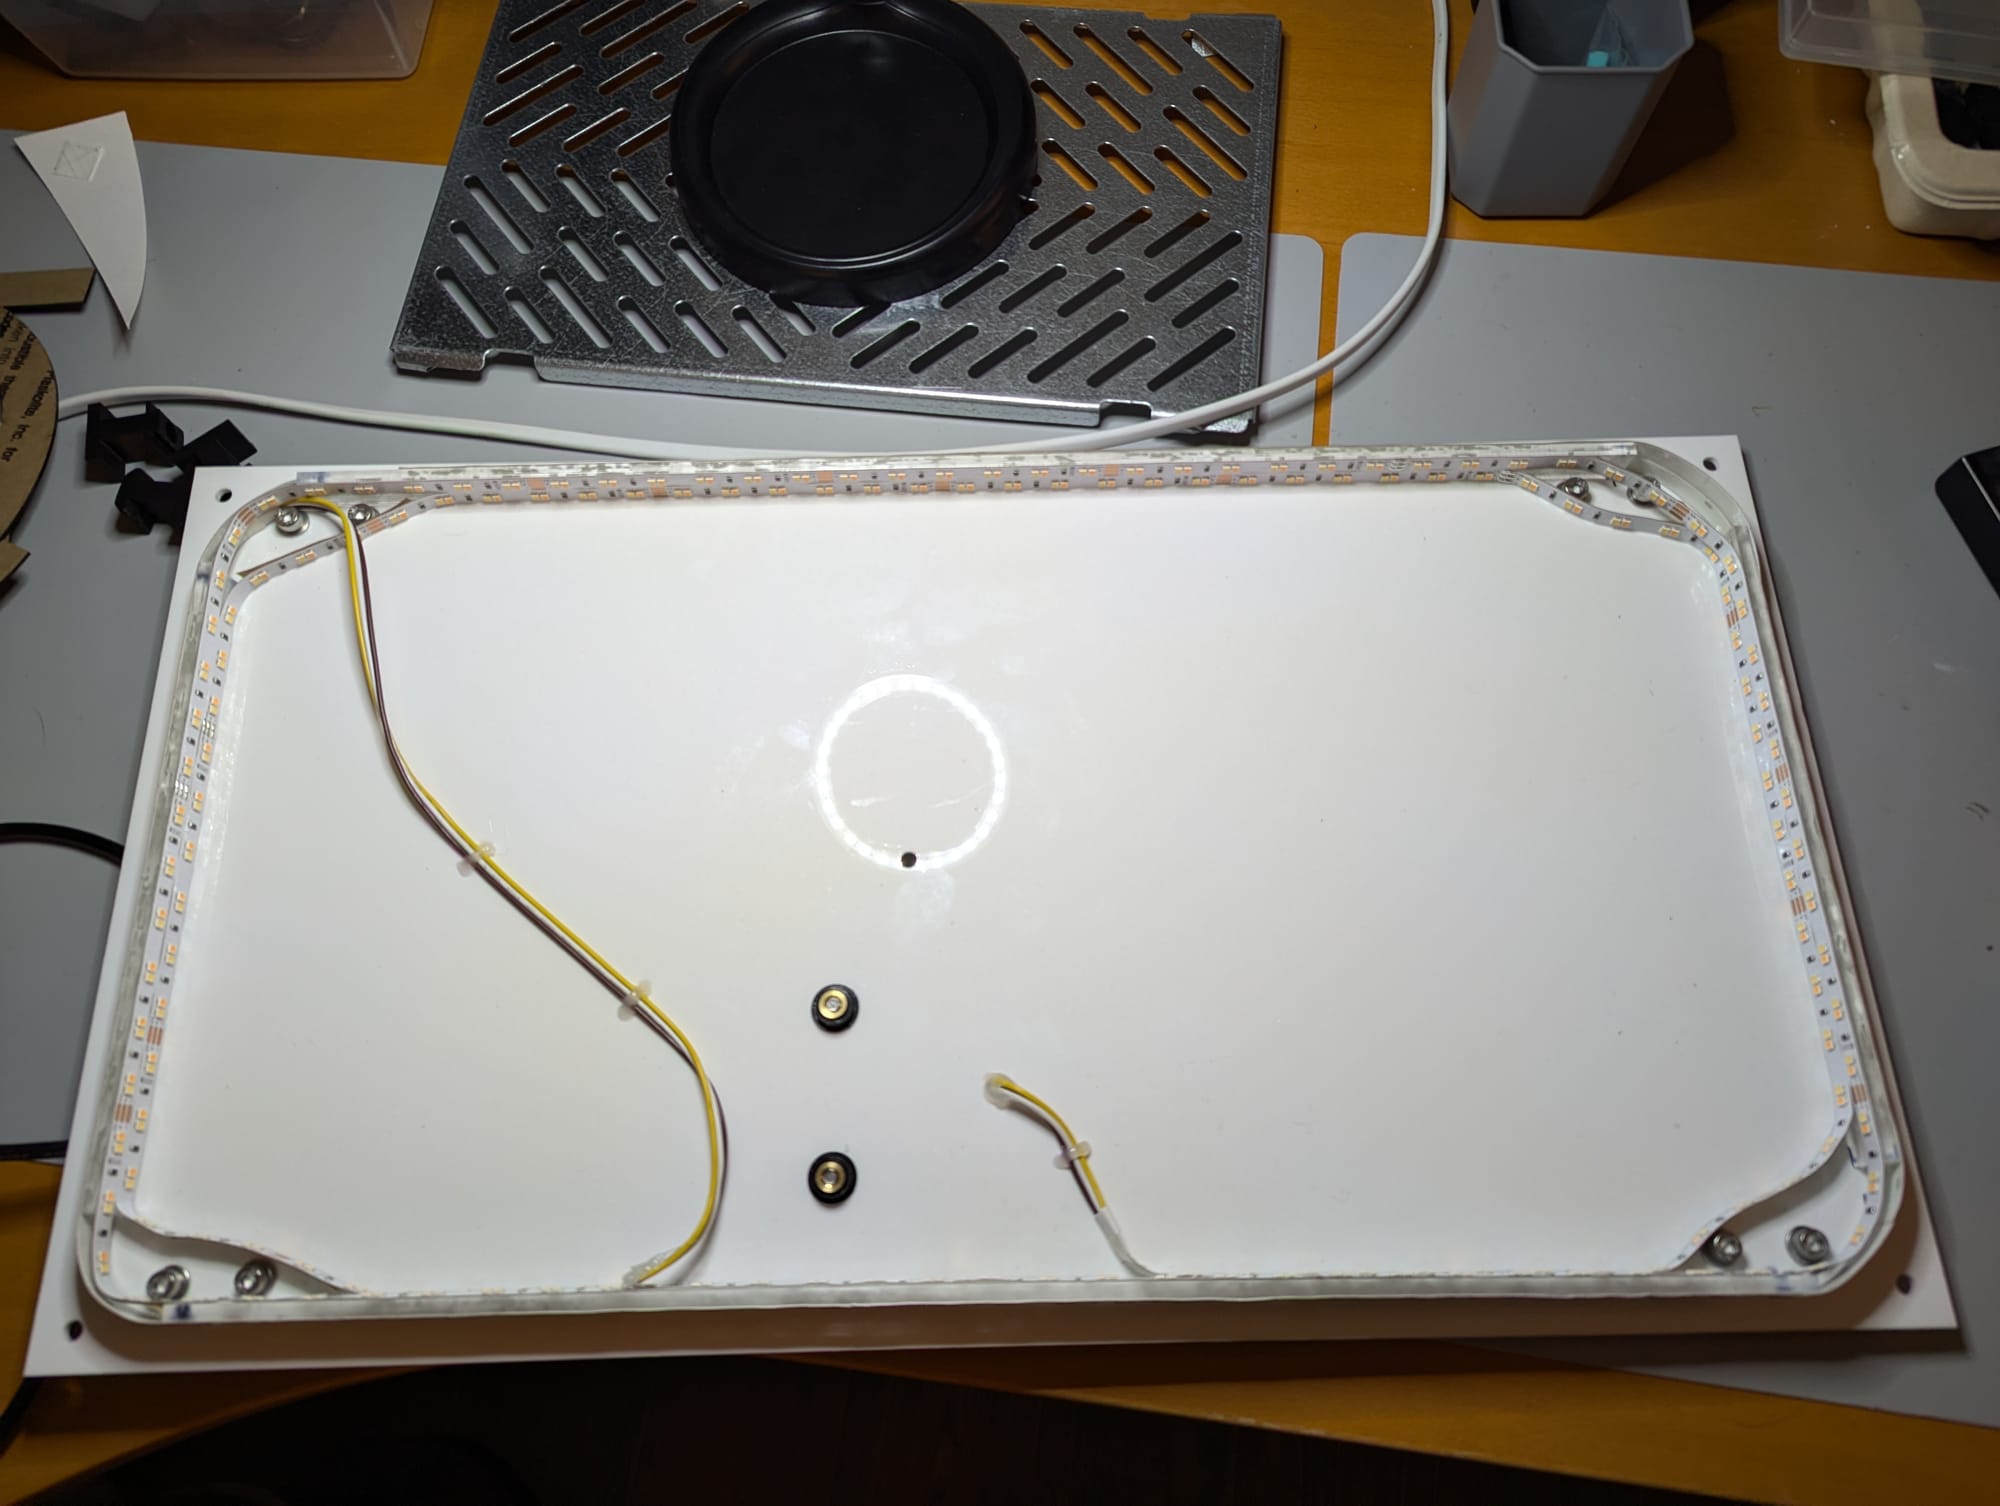
Then, I attached the LED strips around the perimeter, one strip facing the interior, to light up the numbers, and the other facing the exterior to cast light on the wall for a nice effect. A good amount of planning went into where to place the LEDs, and where to run the wires to avoid any of them casting a shadow or otherwise being visible from the outside.
As the last step before final assembly, I designed, and 3D printed a box with a sliding lid for the LED Zigbee controller. I decided to keep this on the outside of the enclosure for easier access, and also due to space constraints. This LED strip has three wires because it has a warm white channel, and a cool white channel.
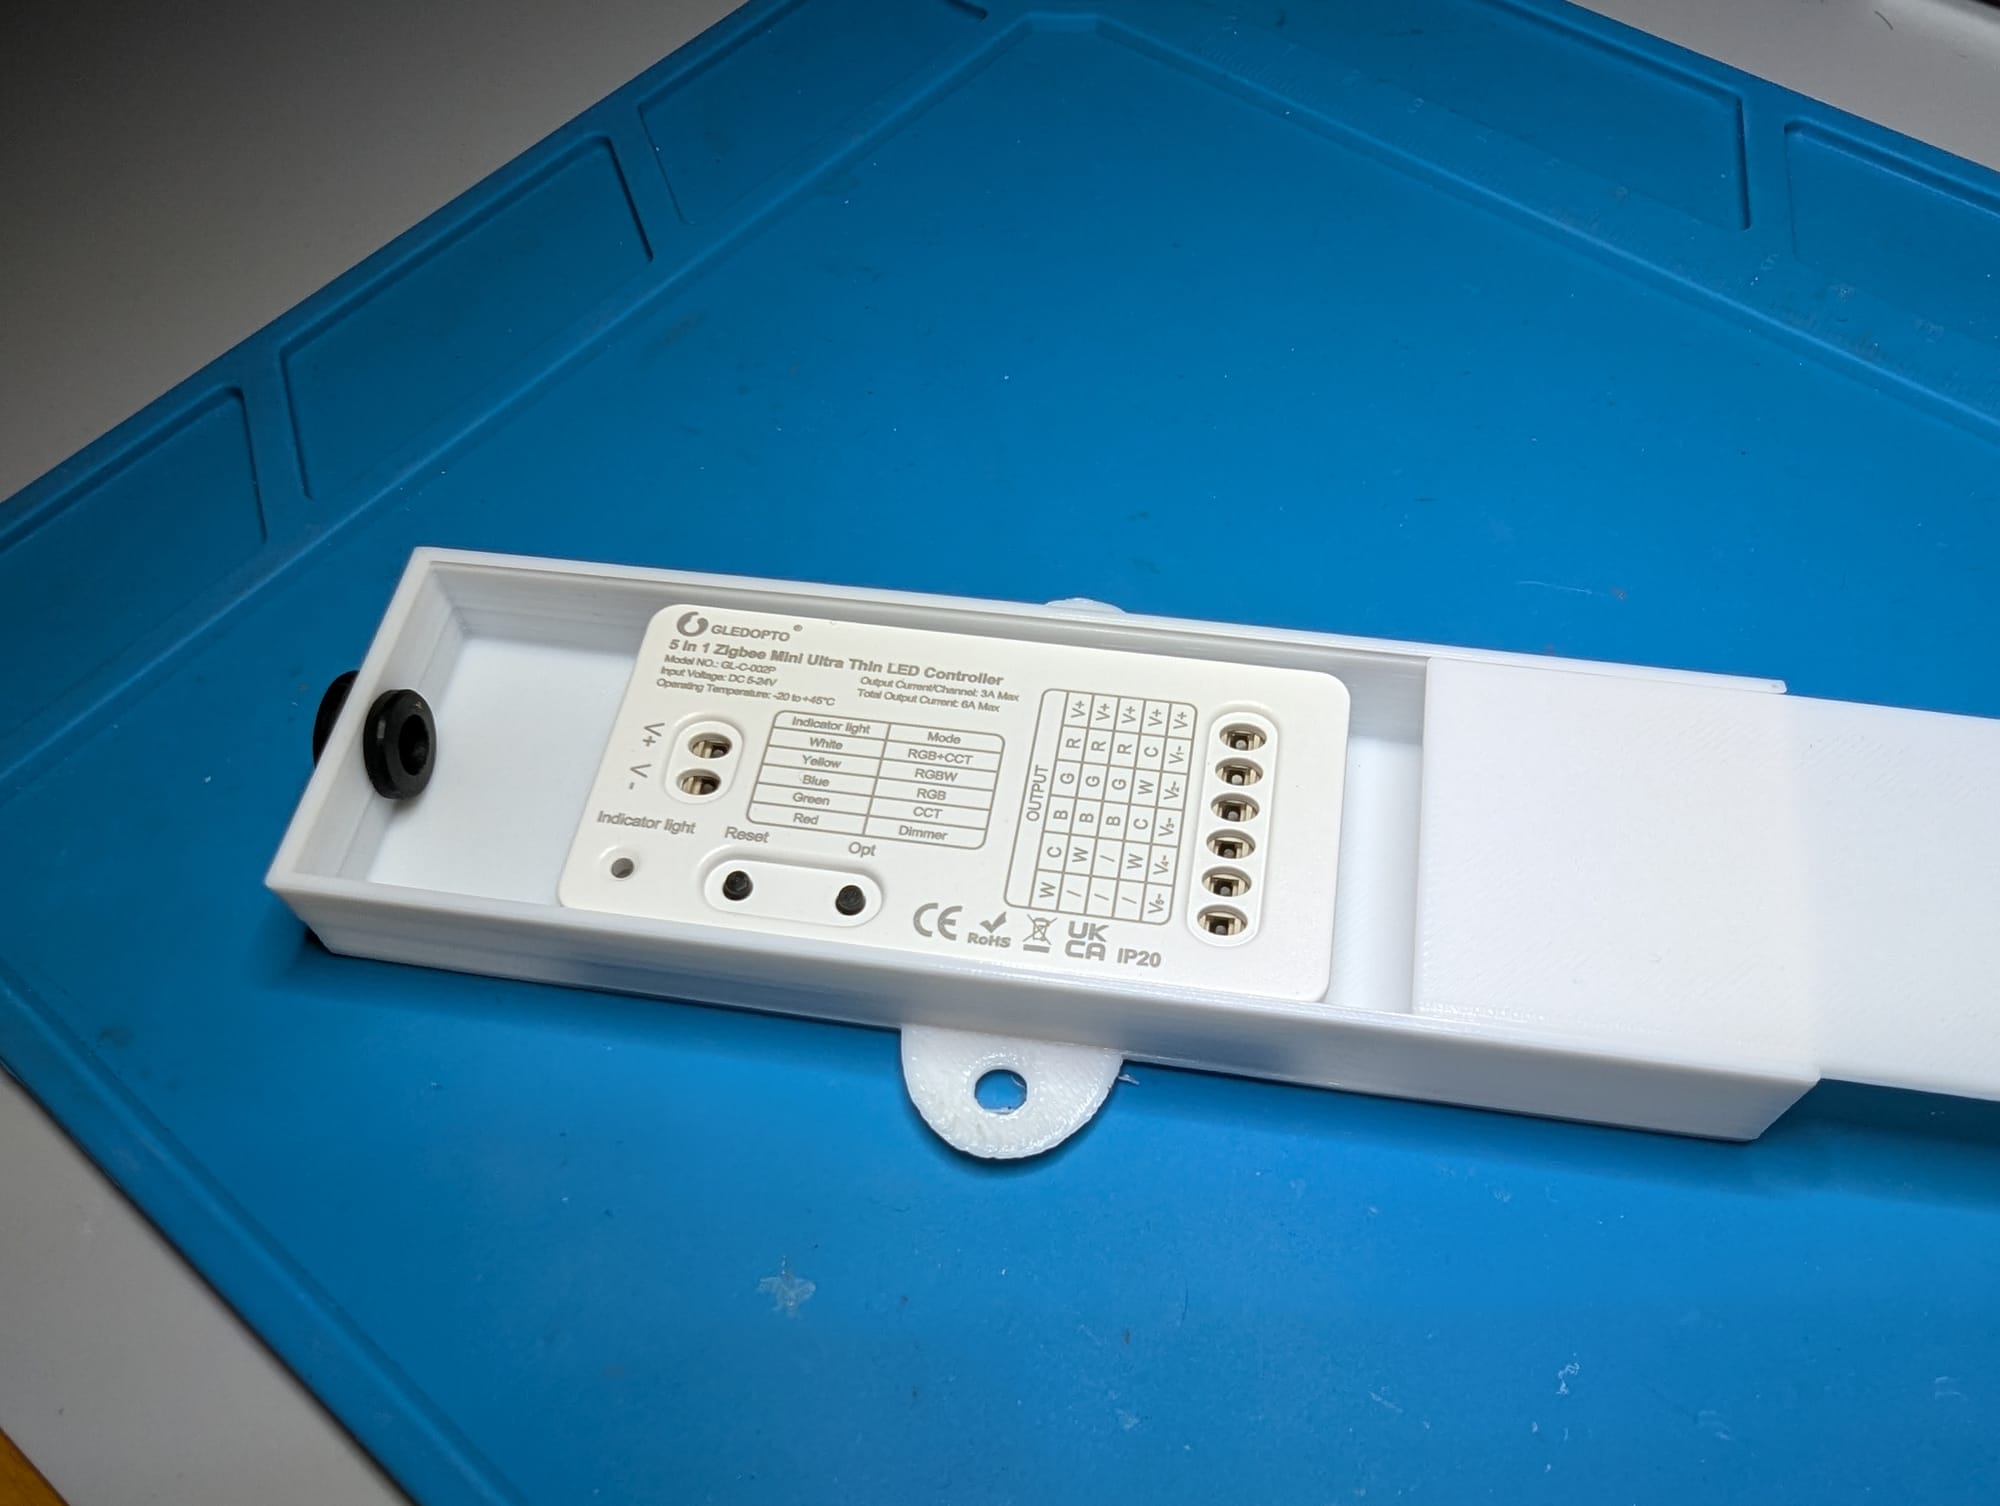
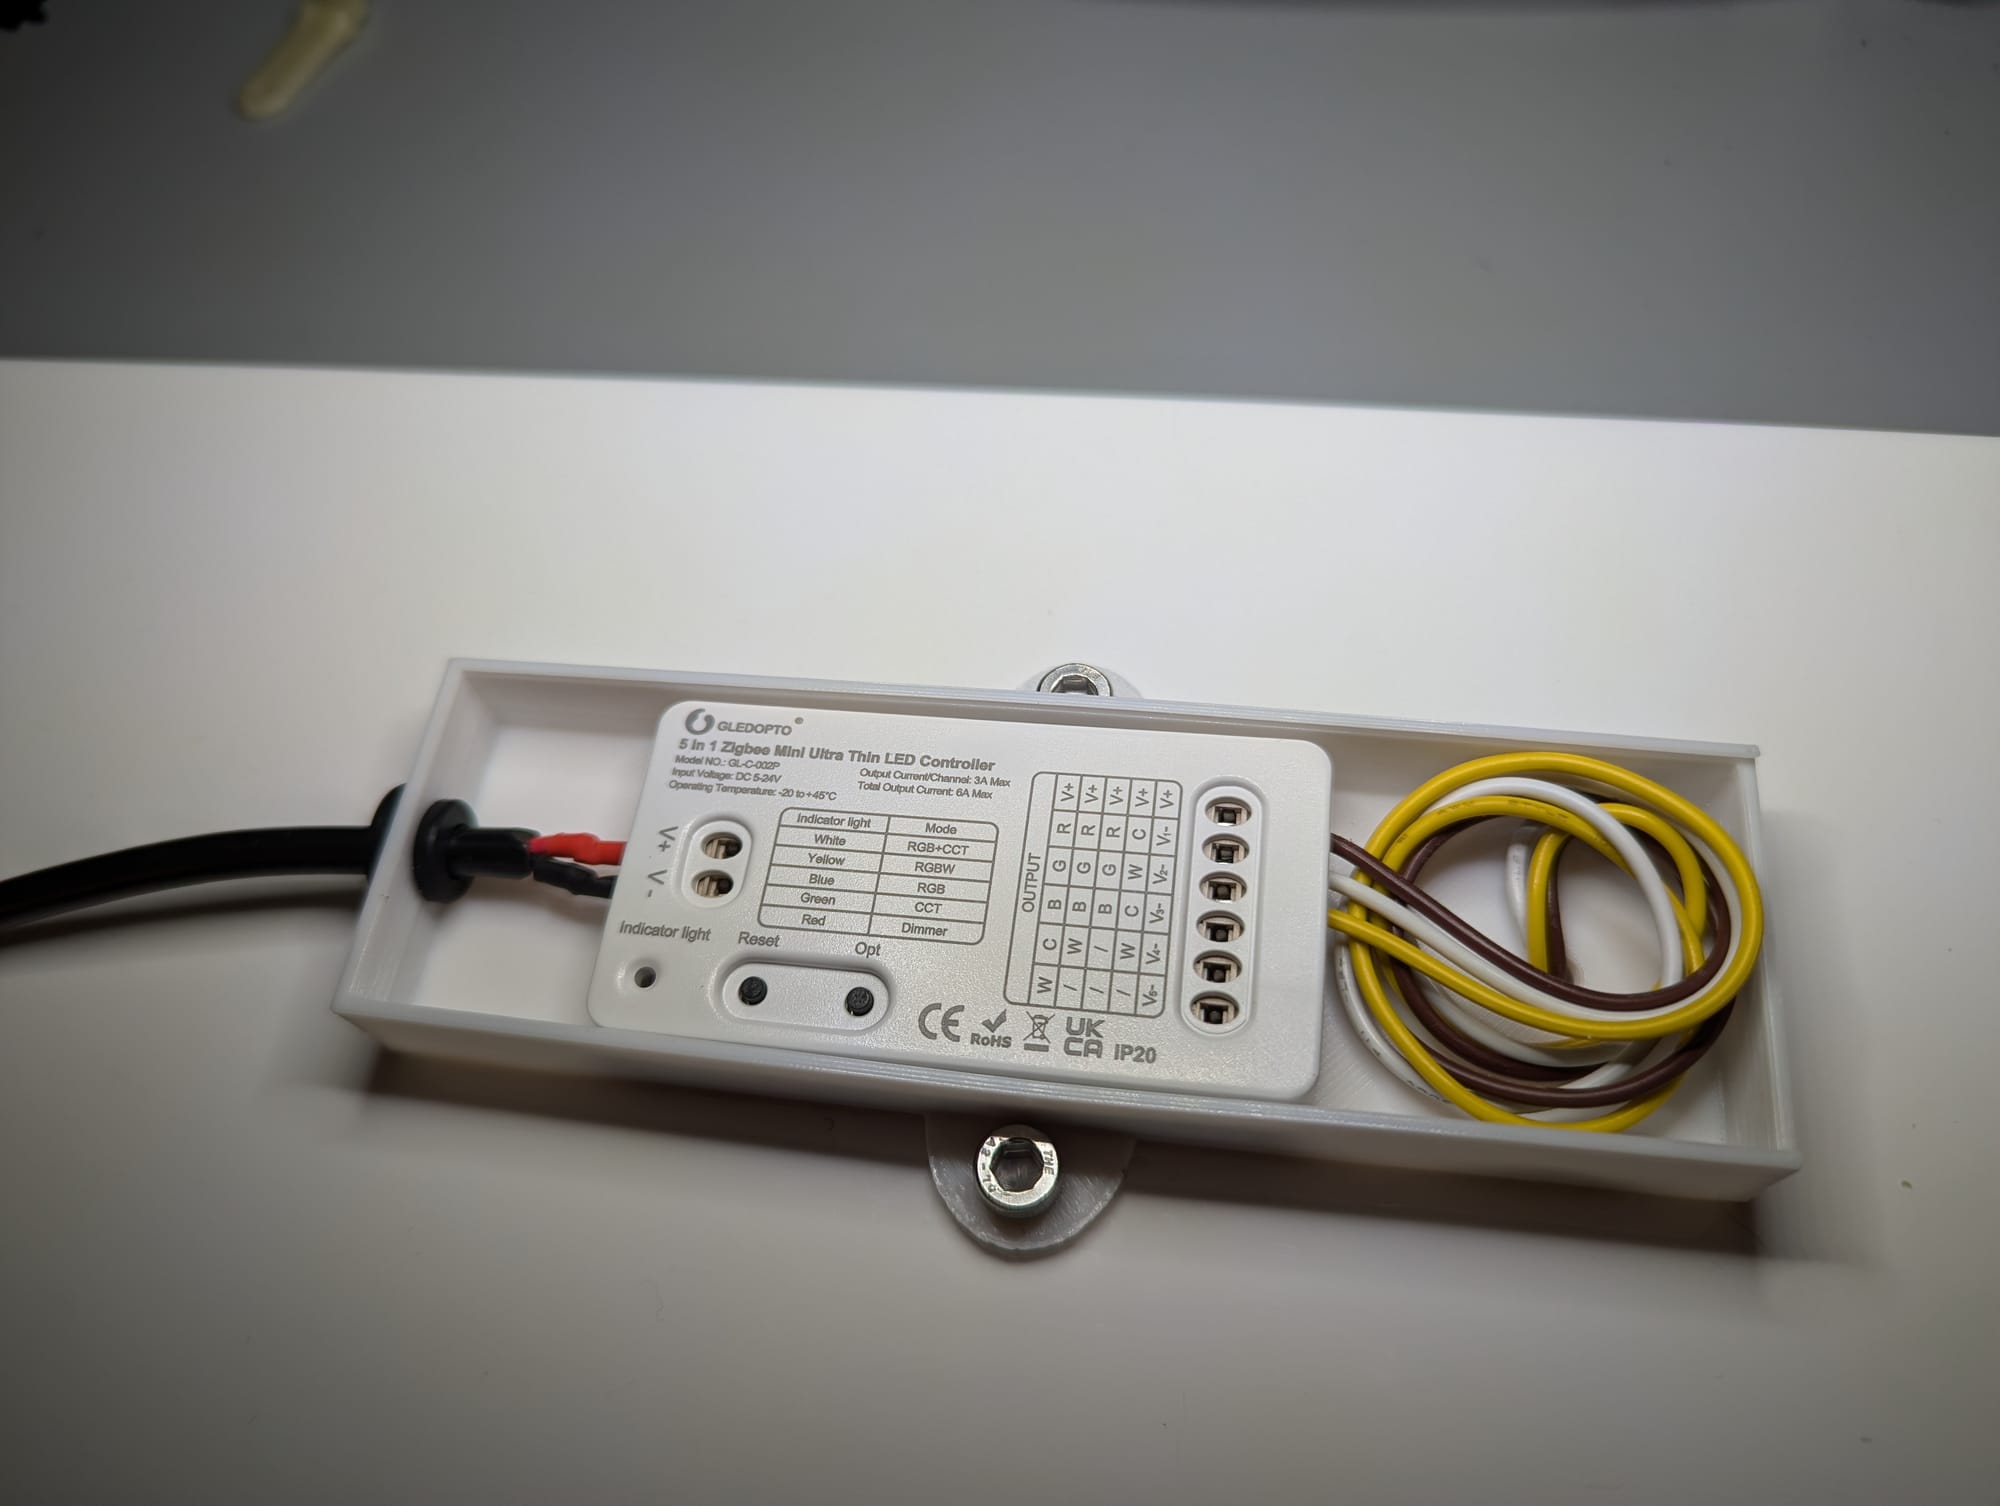
Zigbee LED controller in a 3D printed box
Summary
Replacing my aging house number sign with a custom-built illuminated version was a rewarding project. It not only solves the practical issues of visibility and durability but also adds a modern, tech-savvy touch to the house. With smart lighting controls and a sleek design, this sign is everything I wanted—and more.
If you’re considering a similar upgrade, don’t hesitate to try your hand at building it yourself. It’s an opportunity to create something truly unique and learn valuable skills along the way.